Hello blog! It's been so long since I've posted. I apologize to any readers who may have visited me this spring and summer. I've been so negligent and really do miss posting. It's just been difficult keeping up with full-time work, graduate school, trying to be healthier, have a happy marriage, and on and on.
But, it was my birthday last week and I had a dinner party for family and friends and cooked and baked up a storm. So I'll be posting those pictures soon. My garden is also blooming away and I took a trip to Iceland in the spring...so lots to catch up on! Even though I haven't been posting much lately, I do think of my lonely blog and any readers who may be visiting. Don't give up on me!
Getting to the point at hand for this post...pithiviers!
 |
| my freshly baked pithiviers |
Have you heard of this dessert before? Me neither! However, during my
puff-pastry making obsession over the winter, I was looking for something else fun to do with some of the puff pastry and I found this amazing pastry creation. It's puff pastry on the outside and delicious almond cream on the inside. So yummy.
The almond cream recipe is courtesy of Chef Delphin Gomes and comes from
one of the baking classes I took many years ago at the
Cambridge School of Culinary Arts. It's very simple!
You'll need 1 pound of puff pastry (
see my recipe for puff pastry here), 1 recipe almond cream (below), and 1 lightly beaten egg for the egg wash.
Almond Cream
8 oz granulated sugar
8 oz unsalted butter, room temperature
4 large eggs
8 oz almond flour (see directions below)
2 oz all-purpose flour
To make the
almond flour, put blanched almonds in a blender and pulse until crumbly and "flour-like." It's easier to do this in small batches. Make 8 oz worth and set aside.
 |
| mise en place for my delicious almond cream! |
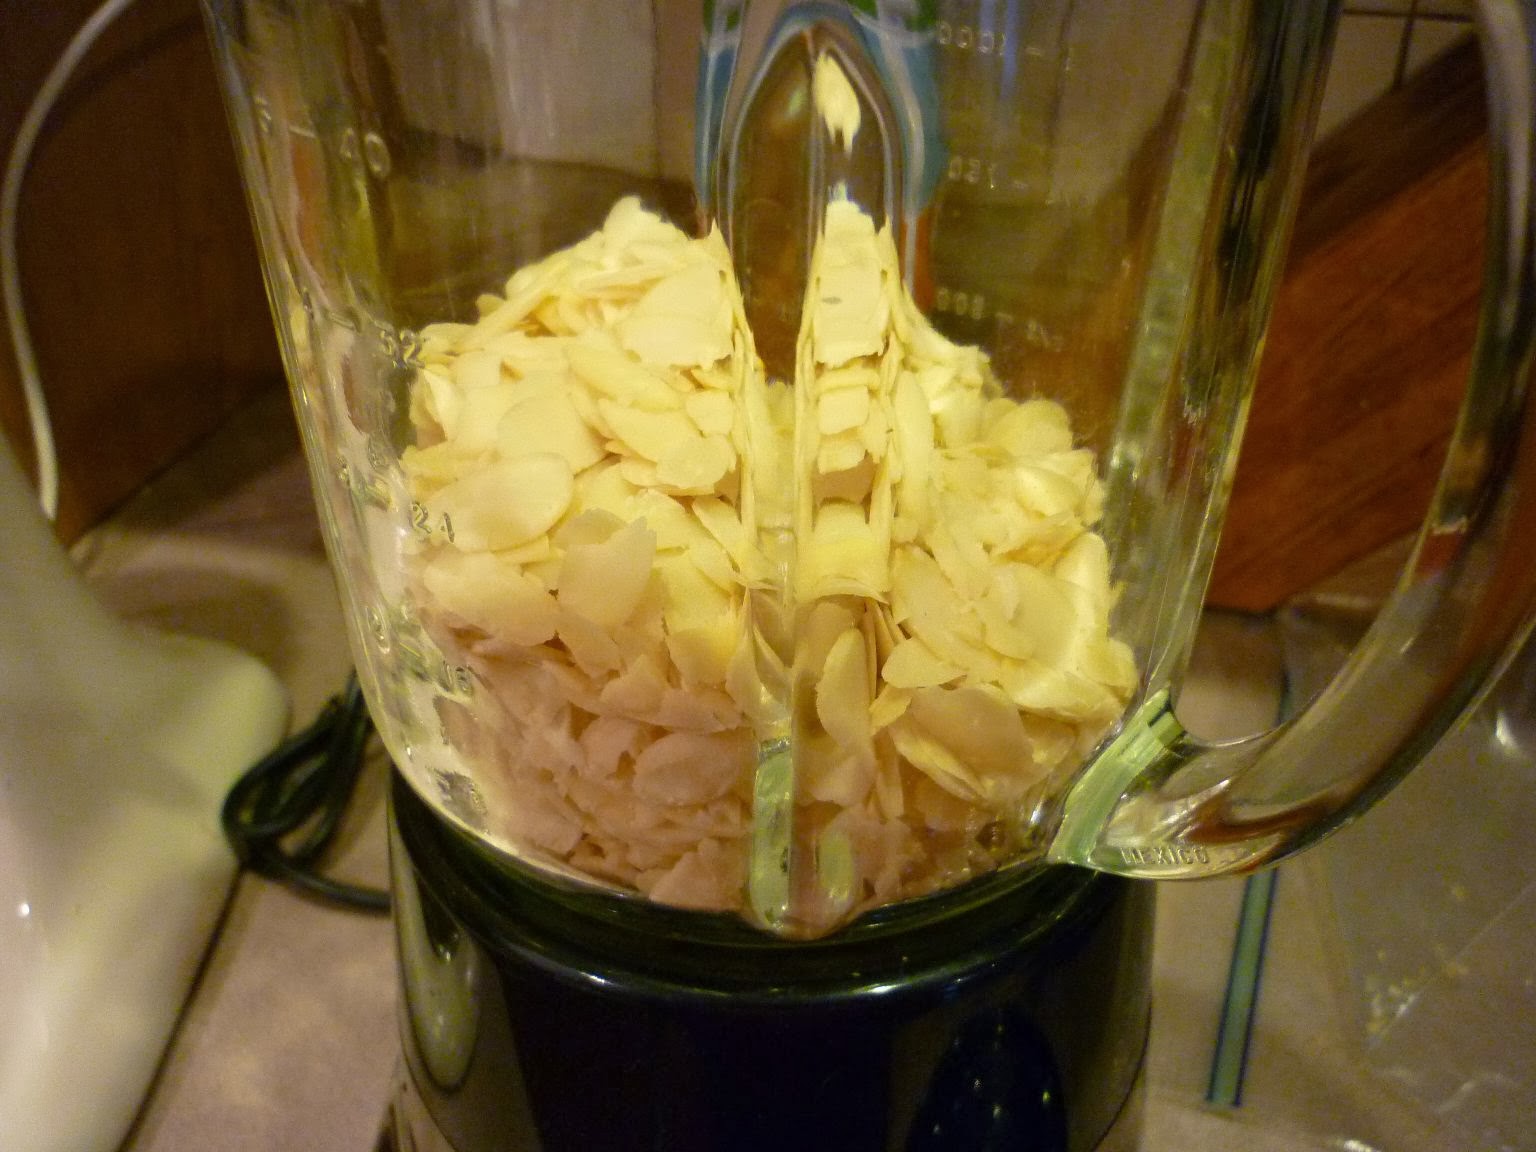 |
| first...making the almond flour. Grind small amounts of almonds in a blender... |
 |
| ...until it looks like this - sandy, light and fluffy |
To make the
almond cream, cream the sugar and butter (beat in a stand mixer with the paddle attachment) until light and fluffy, about 3 minutes.
Add the eggs, one at a time, beating well after each.
Mix the almond flour and all-purpose flour together and then slowly add to the egg-sugar-butter mixture. And...that's it!
For the pithiviers filling, line an 8" tart ring with plastic wrap, and scrape the almond cream into the ring. If you don't have a tart ring, use a 8" pie plate or just draw a circle on parchment and use that as a guide. Then simply spread the almond cream to fill the 8" circle. Refrigerate for at least 1 hour.
 |
| making the pithiviers filling |
 |
| use an offset spatula to smooth the top |
 |
| chill and then remove the tart ring |
While the almond cream is chilling, roll out your puff pastry. You want two circles, one at least 1" larger than the other. I used a 9" tart ring to make the smaller circle and a bowl with a 10" mouth to make my larger circle. Chill your puff pastry circles for about 15 minutes.
 |
| tracing the 10" circle |
 |
| the bottom circle of pastry, 9" around |
 |
| and the top, 10" around |
Now, we assemble. Using something solid for your base (I used a cooling rack covered in aluminum foil), place the smaller puff pastry circle down first. Next, peel back the plastic wrap from your chilled almond cream disk and place it in the middle of the 9" puff pastry.
 |
| my almond cream round goes in the middle of the puff pastry base |
Next, place the larger round over the top and seal the edges with the egg wash. Brush the entire top with the egg wash. Be careful not to let the eggs drip over the cut edges of the pastry or the layers will not puff properly. Refrigerate for 30 minutes.
 |
| sealing the edges...don't let the egg drip over the sides |
After chilling for at least 30 minutes, use a sharp knife to carve a design in the top dough. Mine is a bit messy, but not bad for my first try! Be sure to cut a hole in the middle to allow steam to escape.
Refrigerate for another hour or two (at least). You can also freeze the dough at this point, which is what I did. Before you bake the pithiviers, give it a final egg wash. Again, be careful not to let the egg drip over the edges.
 |
| a bit off-kilter, but here's my free-form design |
Bake at 375 degrees for about 40 minutes, or until puffed up and golden brown. Let cool for about 10 minutes before slicing and serving. So beautiful! Next time you go to a dinner party, volunteer to make dessert. Bring this to the party - frozen - and bake it while you're eating dinner...your friends will be impressed! I served mine at a family holiday party and it got rave reviews!
|
| my golden brown pithiviers |
 |
| time for a slice...flaky pastry and light and delicious almond cream filling |
With my leftover dough and almond cream (and some chocolate chips added!) I made 3 small, individual-sized pithiviers with different designs in the top dough.
 |
| cutting out and filling the dough for the small pithiviers |
 |
| a flower pattern |
 |
| the one on the bottom left is a bit wonky, but it baked up fine |
 |
| voila! |
 |
| look at all those layers... |
 |
| all the chocolate chips sank to the bottom during baking |
 |
| but it was still delicious! Chocolate and almonds are a perfect combination. |
Bye for now...


