It's free choice this week in the
Heavenly Cake Baker club. I was debating between the Red Velvet Cake on page 83 of Rose Levy Beranbaum's
Rose's Heavenly Cakes and Tiramisù on page 267. Tiramisù won out in the end as it seemed like more of a challenge.
I must confess that I cheated a bit this week and deviated from the recipe in the book to (mostly) follow a recipe I'd made once before. While baking, I went back and forth between the two but the final cake, in the end, leaned more toward the more familiar recipe and not the book. I hope I won't be kicked out of the club!
To start with, I got totally flummoxed when reading RLB's instructions for the ladyfingers because she instructs you to pipe the fingers but also to pipe out an 8" disk...but the disk is never called for in the tiramisù recipe. It wasn't until much, much later that I realized the disk instructions were for the recipe on the previous pages. D'oh!
The recipe I (mostly) used called for ladyfingers for the top and bottom layers and a sponge cake as the middle layer (another reason I kept wondering where to incorporate the ladyfinger disk). As you can see from the pictures below, my ladyfingers were pretty much a disaster. Next time I will definitely either use RLB's ladyfinger recipe or the sponge cake recipe (which said it could also be used to pipe the ladyfingers).
I'm not sure exactly what went wrong with my ladyfingers. I think I
may have over-beaten my eggs, egg yolks and sugar mixture, but everything seemed fine until just before I started filling the pastry bags...then the batter just collapsed before my eyes. Sad.
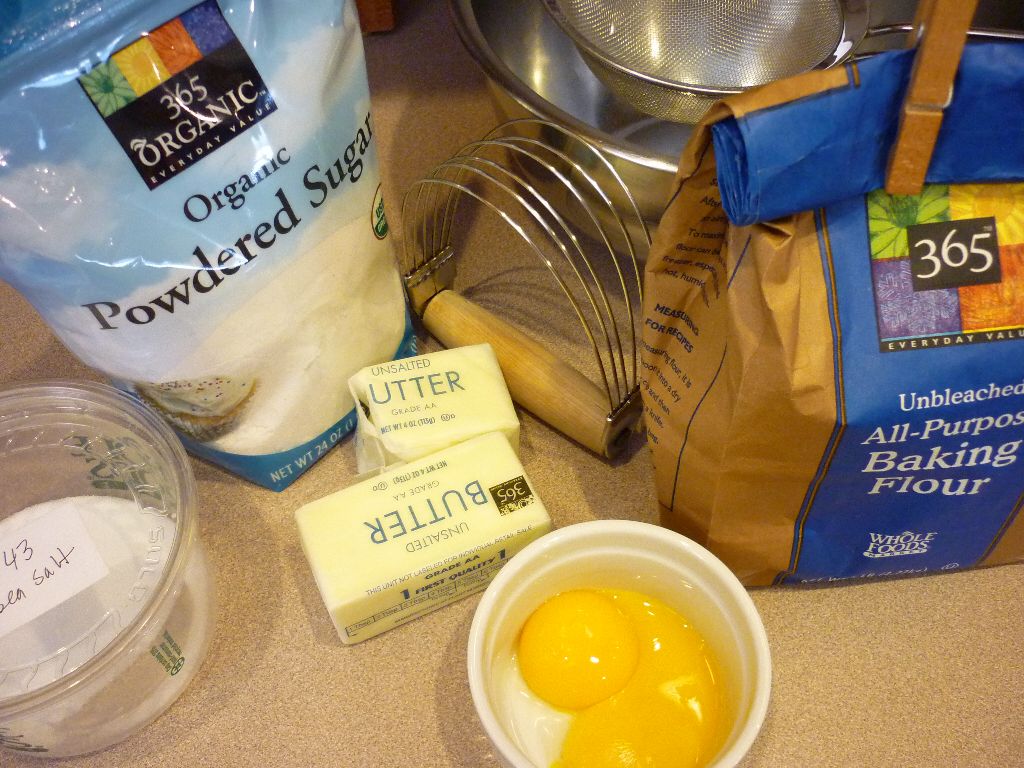
 |
| mise en place for the ladyfingers |
 |
| beating the eggs and sugar |
 |
| I can tell disaster is coming; after adding the flour and butter, the batter is already collapsing |
 |
as you can see I had a hard time getting a light dusting of powdered sugar!
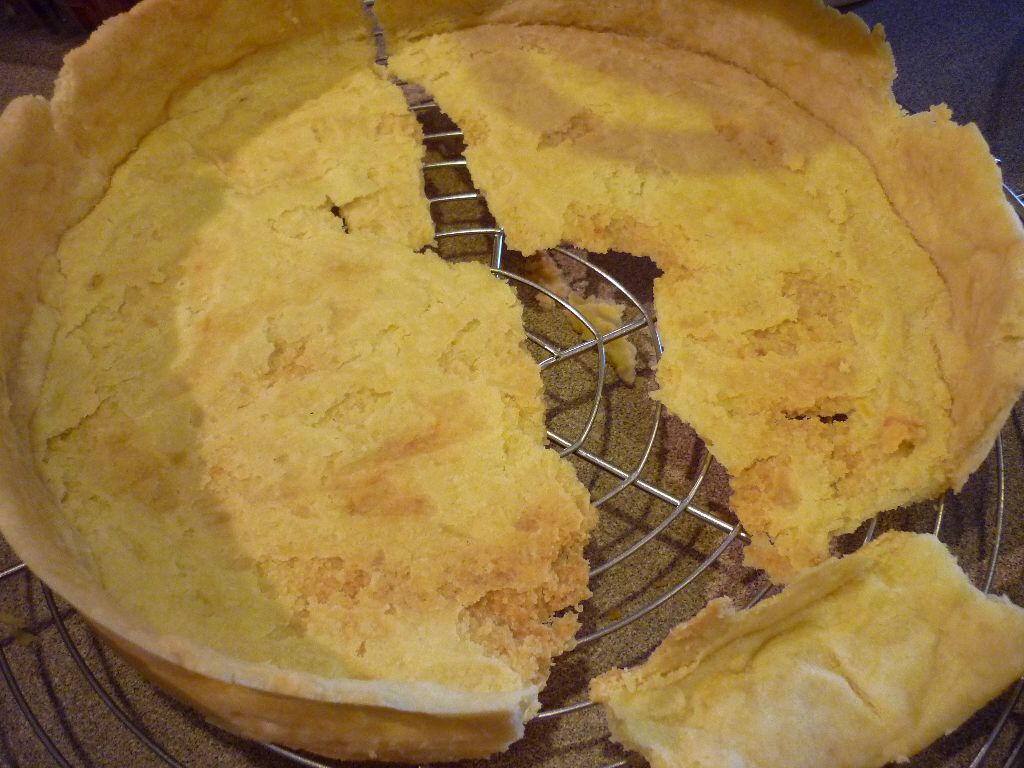
the first set wasn't great but they weren't too horribly bad |
 |
| the second set was a complete disaster |
 |
| they look okay from afar and were actually very light inside...but |
 |
| ...they were so sad and FLAT up close |
The sponge cake, on the other hand, was fantastic. It was easy to pull together, it didn't collapse on me and it baked in less than 10 minutes. It was spongy and moist (it would roll up nicely for a roulade!). It was a bit sticky on the top, but otherwise was very easy to work with after it was baked. I picked it up, flipped it over - both dry and wet - and it never tore.
 |
| mise en place for the sponge cake |
 |
| egg whites and sugar are whipped to a stiff peak |
 |
| gorgeous! |
 |
| dry ingredients are added to the egg yolk, sugar, vanilla and water mixture |
 |
| after the whipped egg whites are folded in, it's baked in a sheet pan |
 |
| less than 10 minutes later - done! |
 |
| mise en place for the pastry cream |
 |
| making the pastry cream...whisk whisk whisk until it boils |
 |
| the mascarpone has been added to the pastry cream which is set over an ice bath to cool |
 |
the final ingredients: cream to lighten the pastry cream; super strong coffee and Kahlua to soak the layers;
and cocoa/powdered sugar to decorate |
 |
| adding the whipped cream to the mascarpone pastry cream |
 |
| almost incorporated - smells delicious! |
 |
the first layer of cookies are soaked with the coffee/Kahlua and
covered with the mascarpone pastry cream |
 |
| the sponge cake layer is up next; it's given a good soaking |
I had lots of extra cookies and more sponge cake than I needed for the large serving dish I was using so I made a second dish (what I'm going to do with TWO dishes of tiramisù though, I don't know). However, at this point I started thinking that I was going to run out of the cream filling by the time I got to the top so I whipped up some more heavy cream, added a few splashes of the coffee/Kahlua mixture for a bit of flavor and then incorporated it back into the mascarpone pastry cream mixture. It diluted the delicious pastry cream flavor a little, but definitely made it go further.
 |
| the final layer is made up of ladyfingers and then topped with more cream |
 |
| all done...looks great |
 |
| now I just need 20 people to serve this to! |
 |
after setting up for about an hour, I sliced into it; I think it will be even better tomorrow after the
flavors have more time to meld |
 |
| delicious! |
Bye for now...