I love making pies - especially the crust. I always make my pie crusts by hand and I love the satisfaction when they come out perfectly flaky. I also love that you can fill a pie crust with so many different things - meat, veg, fruit, nuts, chocolate...savory or sweet, it's your choice!
Here are two pies I made recently with an all-butter crust - an onion, bacon and cheddar quiche and a blueberry pie. Both were scrumptious!
 |
| cutting in the cold butter by hand using my old trusty pastry cutter |
 |
keep going until the mixture is about the size of peas
(although you do want some variation in the size of the butter pieces) |
 |
| add ice cold water, a few tablespoons at a time, and mix gently with a fork |
It's okay that there is still some dry flour as you can see below. In my opinion it's better to be on the dry side rather than the wet side at this stage. The dry flour will be absorbed during the kneading and resting. If the dough is too wet you will end up adding more flour which will end up making your dough tough.
 |
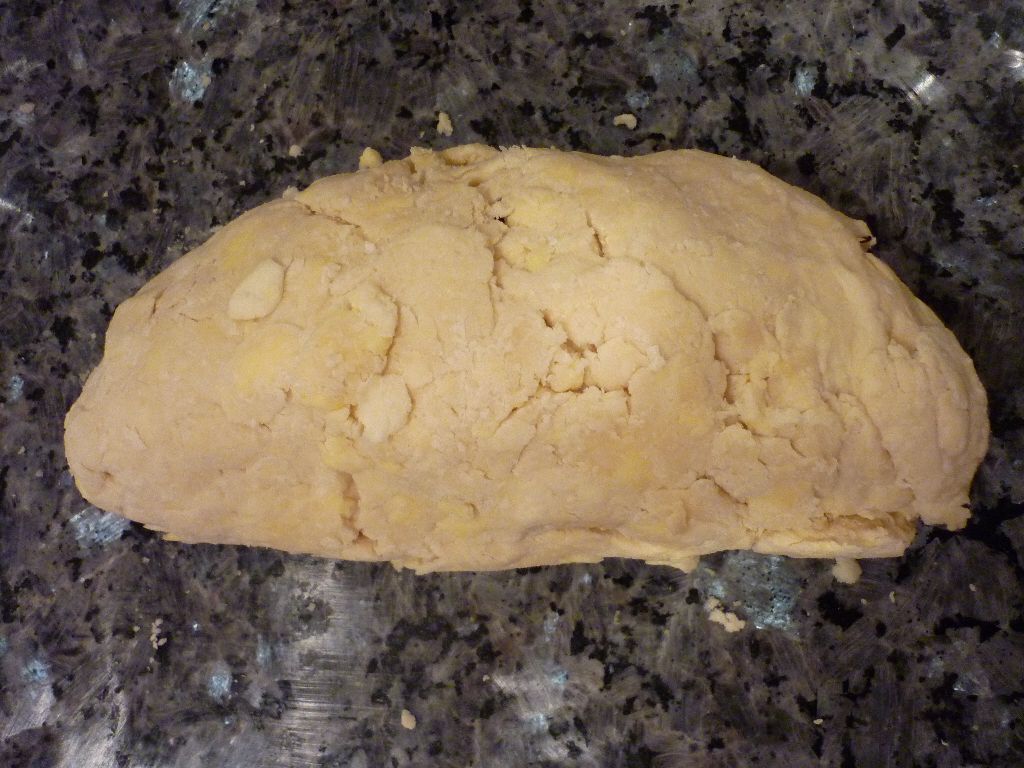
| turned out onto my bench for kneading |
At this point, you want to knead the dough as little as possible as you form it into a solid mass. Once you add the water (or any liquid) to the flour, too much kneading will overwork the gluten in the flour which will make your dough tough. Over-kneading will also incorporate the butter into the dough more than you want, which will result in a less flaky dough. You want the little butter pieces to stay intact because this helps your crust flake when you bake it (the water in the butter turns into steam and creates separate layers in the finished crust).
So, always try to quit a bit before you think you should! I try to knead my pie (and scone) dough no more than 15-17 times. My granddaddy - the best baker in our family - says 17 times for
his scone recipe but sometimes I can get away with 15.
 |
stop as soon as the dough comes together
as you can see, all of the dry flour has now been incorporated |
 |
| this recipe makes enough for two crusts |
 |
| oh how I love making pie crusts - beautiful! |
 |
flatten each half into a round disk (will help you roll it out more easily)
and refrigerate for at least 30 minutes - an hour or two is better
the cold rest period both re-chills the butter rests the gluten
|
I like to roll my crusts ot between two pieces of wax paper. This way you need very little extra flour and it is much less likely to stick to the bench or your rolling pin. It also makes it easy to transfer to the pie plate. If using this method, after every few rolls, lift the wax paper off the dough (on both top and bottom). This will keep the dough from stretching and also from sticking to the wax paper. If you find the dough does start to stick, leave it in between the wax paper, slide it onto a sheet pan and pop it into the fridge for 15 minutes to re-chill the butter. Also remember to turn your rotate the dough a little after every roll or two so you can keep it as round as possible.
 |
| rolling out my dough |
 |
| done! |
Place your rolled out dough over the pie plate and gently lift and settle it into the corners of the pie plate. You don't want to stretch it here or it will just retreat when you bake it (as you can see my quiche crust did a little!). Trim the edge so you are left with about 1 inch of overhanging dough around the whole thing. Then, tuck the overhanging dough underneath so you are left with a nice thick edge. This will make it easier to crimp or flute.
 |
| tuck the overhanging dough underneath to form the edge |
 |
flute the edges (as I did for the blueberry pie)
or leave plain (as I did for the quiche) |
After fitting the dough into the pie plates, put them back in the fridge for another period of chilling and relaxing. About 20 minutes should do it.
For the quiche filling, I followed Julia Child's base recipe for quiche. Simply put 3 eggs in a measuring cup and then fill to 1 1/2 cups with heavy cream or whole milk (or a combination of the two). Super easy, right?
Nutmeg goes really well with egg dishes so I also like to add a bit of freshly grated nutmeg to my quiche.
 |
| my eggs and milk mixture |
 |
| I love onions - the more the merrier! |
 |
grated Irish cheddar went in first, then the caramelized onions, then the bacon
and finally the egg and milk mixture is poured over the top |
 |
baked to a golden brown
(about 55 minutes or until a knife inserted in the middle comes out clean) |
 |
| delicious! |
For the second pie I made blueberry. My mom and I had been experimenting with making a blueberry pie that would still have a nice bottom crust; we decided that using frozen blueberries - and not thawing them before you bake - was the best way to keep the bottom crust crispy. We mixed frozen blueberries, a bit of sugar, a bit of flour (to thicken the juices), lemon juice, lemon zest and a sprinkle of spices (cardamom, cinnamon and nutmeg). Dot the top with butter and you are done.
 |
| mix all the ingredients in a bowl...can't get much easier than that |
 |
| pour into the crust and dot with butter |
 |
| top with a scoop of vanilla ice cream and enjoy |
Bye for now...