Showing posts with label garlic. Show all posts

Tuesday, December 23, 2014

A Birthday/Lasagne Dinner Party: Two Sausage & Collard Greens Lasagne

Continuing my birthday lasagne post from a few weeks ago, here is the recipe for the other lasagne I made for my party last summer, a Two Sausage & Collard Greens Lasagne (see here for the first lasagne: Roasted Portobello, Bacon & Kale Lasagne).

meaty, cheesy, delicious

looks and smells delicious!

Here is my recipe for Two Sausage & Collard Greens Lasagne (adapted this Bon Appetit recipe):

Ingredients
Sausage & Collard Greens Filling:
2 T. olive oil
2 medium onions, chopped
1 small bunch collard greens (or kale)
approx. 2 pounds of sausage casings removed (I used half sweet Italian pork sausage and half chicken chorizo sausage)
5-6 large garlic cloves, pressed or finely minced (+/- cloves, depending on how you feel about garlic)
salt & pepper
1/2 c. dry white wine
2 28-oz cans whole peeled tomatoes with the puree
1 c fresh basil, chopped then divided
1 T fresh thyme, roughly chopped
1/2 T dried oregano (or 1 T fresh oregano, chopped)

1 15-oz container whole-milk ricotta cheese
12 oz whole-milk mozzarella cheese, grated on the large holes (about 3 c. packed)
1 1/4 c. Parmigiano-Reggiano cheese, grated on the large holes, divided into 1 c. and 1/4 c.

1 pound lasagne noodles (16-20 noodles), slightly under-cooked as they will finish cooking when you bake the lasagne, set aside

ingredients for the lasagne filling

I used two different sausages - sweet Italian and a chicken chorizo

use fresh basil for the best flavor - so gorgeous and fragrant!

I cooked my lasagne noodles way in advance and then rubbed them in olive oil
and set them aside while I prepped the ingredients and made the filling

Method
Preheat the oven to 375 degrees. Set aside a 13x9" glass baking dish or a large roasting pan (I used my large All-Clad roaster).

Cut the collard greens into a chiffonade (see picture below), set aside.

cutting the collards into a chiffonade. This will help them cook in the sauce.

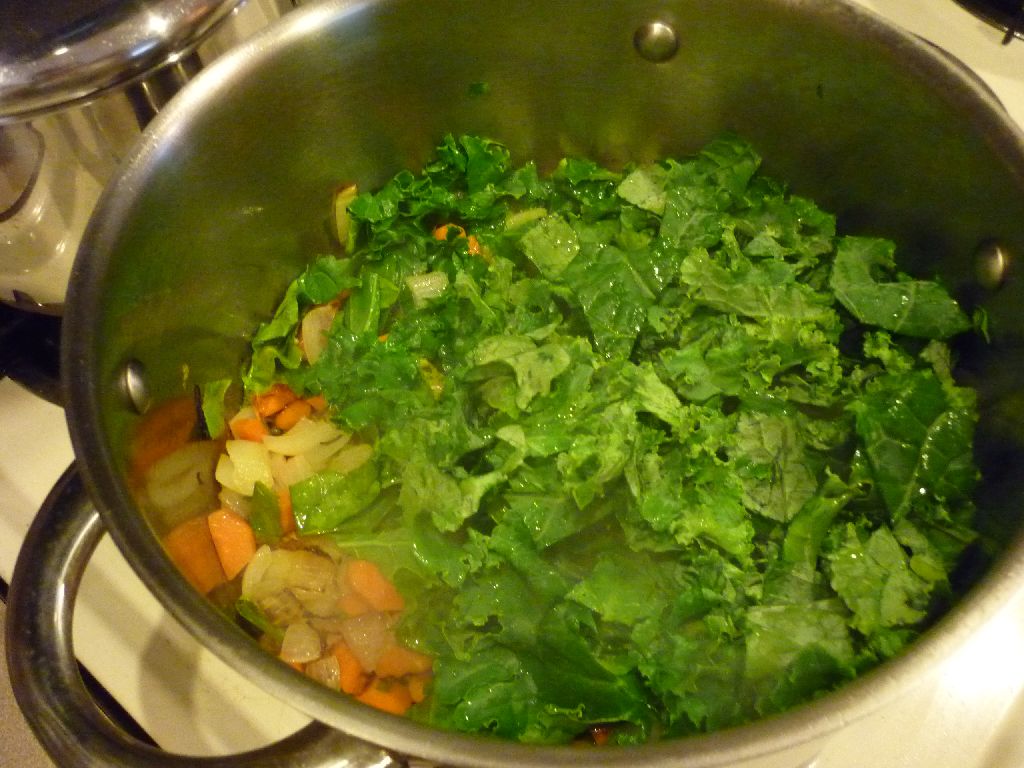
Heat the 2 T. olive oil in a very large heavy-bottomed pan over medium heat. Add the onions, sprinkle with salt, and saute about 5 minutes. Add the collard greens and cook an additional 5 or so minutes until the collards are bright green and beginning to wilt.

cooking down the onions and collard greens

Remove the sausage from the casings and add to the pan. Use a large spoon to break the sausage into bite-sized pieces. Add the garlic and stir; season with pepper and a little more salt, stir. Saute until the sausage is fully cooked, about 8 minutes. Add the wine and bring to a boil, cook for 1 minute (to burn off the alcohol).

Using your hands to break them apart, add the whole tomatoes to the pan (see picture below).

use your hands to break the tomatoes into chunks as you add them to the pan

Add the remaining tomato puree from the 2 cans, stir, then add 1/2 of the chopped basil, the chopped thyme and the dried oregano.

add the tomato puree and herbs

Give the mixture a good stir to combine everything. Bring to a boil again, then reduce heat to low. Simmer for about 10 minutes, until the sauce thickens. Taste and season with additional salt and pepper, if needed. Set aside.

In a medium bowl, combine the ricotta, mozzarella, 1 c. Parmigiano-Reggiano, and the other 1/2 c. of basil; stir well to blend. Season with a little salt and pepper.

the cheese filling

Assembling the lasagne
You'll make four layers in total and will want some sauce leftover for the top. If your layers are messy - no problem! - they will all blend together when the lasagne bakes.

Spread approx. 1 c. of sauce over the bottom of the pan. Cover with 4 noodles, slightly overlapping them if need be (if you are using the glass baking dish, only 3 noodles will fit). Drop 1/4 of the cheese mixture by spoonfuls over the noodles; spread as best you can.

Repeat the layering: spread 1 c. of sauce, layer 4 noodles, spread 1/4 of the cheese mixture; then again a third time, then a fourth time. There should some sauce left, so spread that over the last cheese layer.
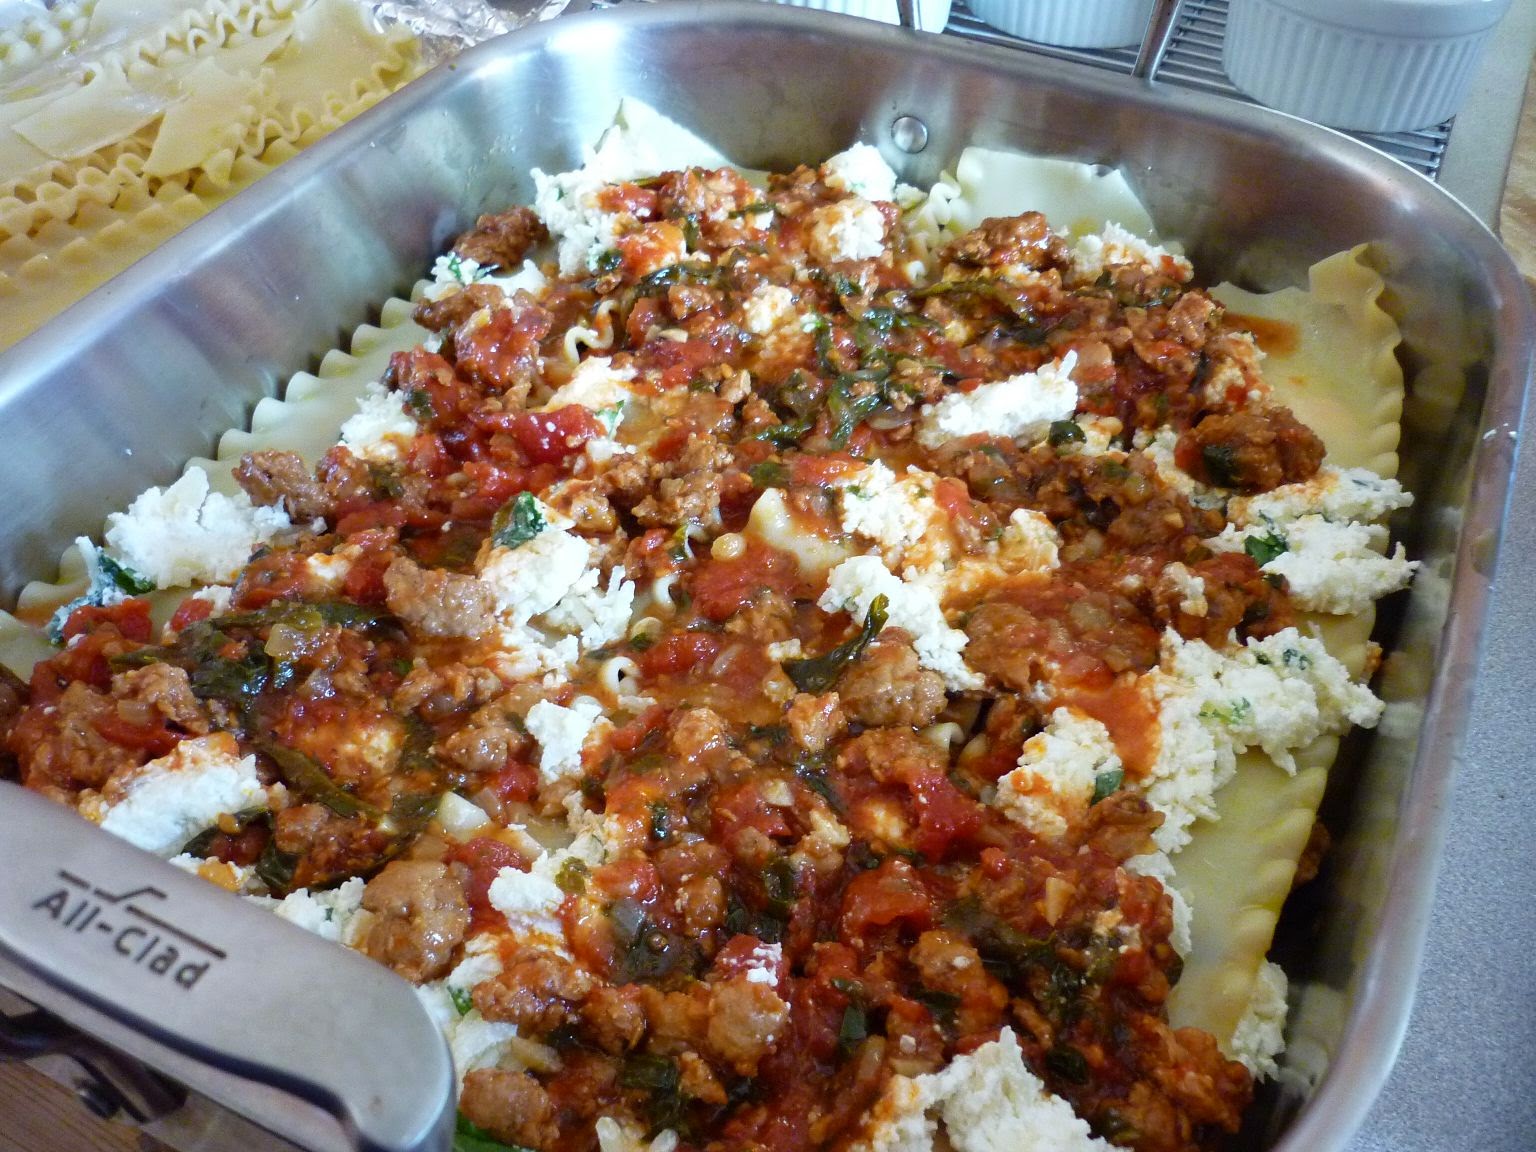
ending with the remaining sauce spread over the fourth layer

After the remaining sauce is spread over the final cheese layer, sprinkle the remaining 1/4 c. Parmigiano-Reggiano cheese evenly over the top.

Bake in a 375 degree oven for about 50-55 minutes, until heated through and the cheese is melted and golden brown. Let stand 10 minutes before serving.

Enjoy!

baked to a golden brown

time to try a bite...yum


Bye for now...

Sunday, August 11, 2013

Lentil & Split Pea Stew

Toward my effort at healthy eating, here is a Lentil & Split Pea Stew I made a few months ago. I was kind of winging it - a few carrots, a few onions, lots of garlic, some herbs, broth, salt and pepper. Very simple, but tasty.

I normally like to cook with French lentils because they cook really fast and are delicious, but these red lentils were great too (and fast cooking). The split peas however took much longer (I didn't soak them first), so I probably wouldn't combine them again. I started out by sauteing the onions and carrots in olive oil and then just added the remaining ingredients, gave it a quick stir, then added the vegetable broth, and cooked until the beans were soft.

The stew turned out to be rather thick because I had to keep cooking it because of the split peas. I served it with some crostini...delicious!

all of the ingredients combined

add a several cups of vegetable broth

cover and cook over low heat

served with french bread crostini

yum!


Bye for now...

Thursday, July 4, 2013

Mixed Vegetable & Red Quinoa Stew

I get a weekly delivery from Boston Organics so I've been trying to find - or make up - recipes to use the contents of my boxes. Sometimes it can be difficult and I wind up with tons of potatoes or kiwis or something. But, for the most part I really love getting fresh fruit and vegetables delivered right to my door, and having the surprise of not knowing exactly what I'll get.

Here is a vegetable and red quinoa stew I made recently. I made up the recipe based on what I had in the delivery: carrots, kale (or any other green would work), onions, zucchini, summer squash, and garlic; olive oil, salt and pepper, and some hot sauce, with a squeeze of fresh lemon juice added at the end complete the dish.

ingredients - use what you like!

cooking down the carrots and onions in some olive oil

while the carrots and onions cook, I started the quinoa.
I love quinoa - so easy and very healthy!

the chopped garlic and kale are added to the carrots and onions mixture

after the kale softens, add the zucchini and summer squash
which don't need to cook for too long

done! How easy was that?

the quinoa is done when the germ (the yellow spiral bit) separates from the germ

mix the vegetables and quinoa together, squeeze a bit of lemon juice over the top...
and voila!

time to enjoy a bowl

delicious!


Bye for now...

Friday, May 10, 2013

Garlicy Swiss Chard

My multi-talented sister-in-law recently made a delicious dish of sauteed greens with garlic. I haven't been able to recreate it perfectly, but here is my version which has quickly become a favorite. It's fast, easy, and healthy...and garlicy. I love garlic!

I've used green Swiss chard here, but kale is also great, as is red Swiss chard. I have also started using some frozen chopped (mixed) greens to fill out the pan since the fresh greens cook down so much. I've found that the frozen greens won't let off too much water if I microwave them first until thawed (about 1 minute 30).

For this recipe I used 1 bunch of fresh Swiss chard, 1/2 a bag of frozen chopped greens, 2 heads of garlic, olive oil (a few tablespoons, to coat the bottom of the pan), sea salt, and about 1-2 T. soy sauce. (Add less salt if you use more soy sauce.) A little hint to remove the garlic smell from your hands is to rub them on stainless steel. I'll wash them with a little soap and then rub my soapy hands over the neck of the kitchen sink faucet...rinse and bye-bye garlic smell...works every time.

Heat the olive oil over med-low heat and add the chopped garlic and salt. Cook the garlic (until it just starts to turn golden) while you chop the greens. Add the greens, cover, cook. Add the soy sauce, stir, and cook until the liquid evaporates...and, done! Serve with rice, as a side dish, or just enjoy on its own.

everything you need for a quick meal

peel the garlic quickly by giving each clove a smash with the flat side of your knife
the papery bit should come off easily

give the garlic a rough chop...I like larger pieces which will get really sweet as they cook

saute the garlic over medium-low heat (so it doesn't burn), sprinkle on a little salt,
and chop up the greens while the garlic cooks

I cut off the ends and then slice the leaves and stems down the middle the long way

then stack the two halves and slice the long way again

then slice crosswise into a sort of large julienne

voila!

add the fresh greens and thawed frozen greens to the garlic and give it a good stir
cover and let cook down

add a tablespoon or so of soy sauce and stir

done and delicious...where is my fork?


Bye for now...

Tuesday, July 10, 2012

Homemade pesto

dinnertime...linguine, my homemade pesto and a sprinkle of cheese.

I absolutely love pesto. I love it on pasta (natch), bread, vegetables, fish, even just a plain spoonful. I've been wanting to make it from scratch for a while now since it seems like it should be super easy to make and would take advantage of having lots of fresh basil available in the summer. Plus, I figured it would be even more delicious freshly made. Here is the general recipe I made up, but this is definitely the kind of recipe you can adjust to suit your tastes.

This recipe made a lot of pesto, so when it was done, I split it in half and poured some olive oil over the top so the basil didn't get discolored (pics 13, 14 below). I stored half in the freezer and left the other half in the fridge to eat over the course of a week or so. The frozen pesto should be good for at least 1-2 months...maybe longer but mine never lasts that long! If you don't want to freeze it in one big jar like I did, you can do it in an ice cube tray and then, when frozen, transfer the cubes to a zip bag. 

Homemade Basil Pesto
Ingredients
16 oz fresh basil leaves, about 4 packed cups (I used the 4 oz packs from Happy Valley brand) 
3/4 cup pine nuts
4-5 cloves garlic (I love garlic so used 5 cloves)
2/3 cup grated parmesan cheese (I used a combination of parmesan sarvecchio and parmigiano reggiano. Go for the quality stuff here...nothing out of a green canister!)
1/2 cup olive oil
~ 1/3 teaspoon each salt and pepper (to taste)

Directions
Pick over the basil and discard any brown or old leaves. Wash and dry the basil leaves (pic 7).

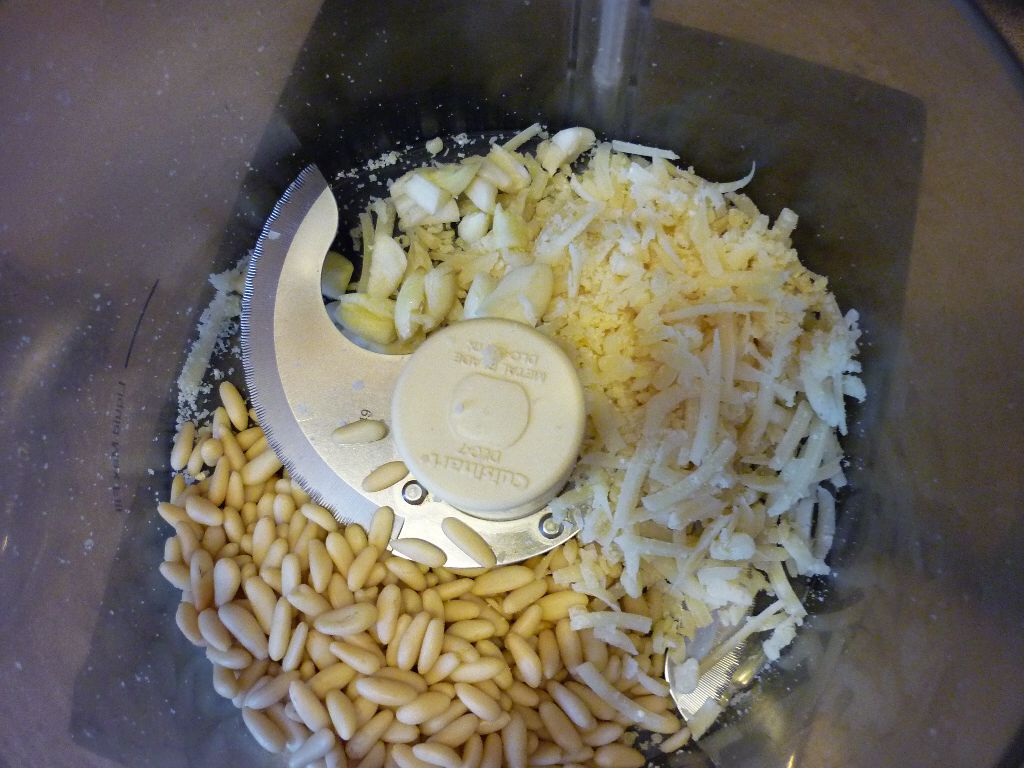
Put the grated parmesan cheese, pine nuts and garlic cloves into the bowl of a food processor and pulse until the mixture resembles bread crumbs (pics 8, 9).

Add the basil leaves and pulse until combined (pics 10, 11). At this stage it will resemble a thick green paste.

With the food processor running, drizzle in the olive oil (you may need slightly less/more than 1/2 cup) until you get the consistency you want. Sprinkle in the salt and pepper and blend again for a few seconds. Voila, fresh homemade petso (pic 12)...how easy was that?!

Stir into pasta, vegetables or a baked potato and enjoy!

mise en place

I used two cheeses - the parmesan sarvecchio was a bit more mild tasting

while the parmigiano reggiano was sharper and "nuttier" tasting

I used my food processor to grate the cheese...took about 12 seconds!

into a separate bowl so I can add the cheese a little at a time, as needed

lots of garlic!

(pic 7) washing and drying the basil leaves

(pic 8) pine nuts, cheese, garlic go into the food processor

(pic 9) I pulsed them together until they resembled bread crumbs

(pic 10) add the basil leaves. I had to do in 2 bunches (add, blend, add the rest) since they were so bulky.

(pic 11) blend until the basil is incorporated

(pic 12) after adding the olive oil. The longer you mix it, the creamier it will get

(pic 13) I split the pesto into 2 jars - one to freeze and one to enjoy now

(pic 14) pour a little olive oil on the top to prevent discoloration

mouth wateringly delicious!

Bye for now...