Showing posts with label nuts. Show all posts

Sunday, February 26, 2012

Chocolate Chip Cookies

I love chocolate chip cookies. And, of course, they are best right out of the oven with the gooey middles still warm and melty...pure delight! I generally use the Toll House Cookie recipe since I know it by heart but I prefer to use better quality chocolate chips and I usually add some nutmeg.

Although I didn't add nuts to this batch, I also like to process the cup of nuts to a fine grind (instead of chopping them) because it gives the cookies a really nice texture and the hint of nutty flavor. And, finally, since chocolate chip cookies are best fresh from the oven, I will never bake up the full batch, but rather just set the unbaked cookies on a sheet pan and them freeze them. Once they are frozen I store them in a freezer bag and just bake up a few whenever I need a little chocolate fix.

Enjoy!

mise en place

creaming the butter and sugar

in go the eggs

then the flour

and finally the chips (and nuts) get stirred in

I use a mini scoop so all of the cookies bake evenly

the first scoop is the same size as the last

ready for the freezer

warm, gooey and delicious!

Bye for now...

Friday, February 3, 2012

Avid Baker's Challenge: Glazed Cinnamon Rolls

This month's Avid Baker's Challenge club are the delicious Glazed Cinnamon Rolls on page 334 of The Weekend Baker by Abby Dodge.
Last May, the ABCers made Overnight Cinnamon Buns and I was curious to see how these compared to those wonderfully light and tasty buns.

Overall, each recipe had pros and cons so if I make cinnamon buns again I will try to do a combination of the two and (hopefully!) wind up with THE perfect cinnamon bun.

So, what did I like about these Glazed Cinnamon Rolls? The pros for me were: they were quick and easy to make and the finished dough was so well behaved and easy to roll out. It was soft and manageable and rolled out without even needing any extra flour. I rolled it out between pieces of wax paper, but I don't think I even needed to do that. [My biggest con for the Overnight Cinnamon Buns is that the dough was very sticky and hard to roll out (although I made them in May vs January so the weather may have played a big part there).] The flavor of the cinnamon filling was also quite nice and didn't get absorbed into the dough, which I like.

The cons were that I thought the dough itself was a little bland vs the other cinnamon rolls, which contained orange zest. I did add some nuts to try to create a sort of a nutty-caramelized topping (in the bottom of the pan) and had mixed results with that...disappointing. I was going for something similar to Baking with Julia's Pecan Sticky Buns, but most of my cookbooks are in storage so I just guessed at the ingredients for that and was so way off in terms of how much butter to put in the pan that it's not surprising mine didn't caramelize. Julia's recipe calls for 1 STICK of butter (O.M.G.) to be spread into a 9" pan...I only used about one tablespoon in a 6" pan. So, obviously, mine did not caramelize like the dreamy pictures in Baking with Julia. As much as I love butter, that is a lot of butter! Although...in the big picture, I guess it's only about 1 T per serving so maybe I can convince myself to go through with Julia's method someday!

Anyway, back to these Glazed Cinnamon Rolls. Next time I will add some lemon or orange zest to the dough to jazz it up a bit and also add some nuts to the filling. Here are my pictures.

mise en place for the dough

my well-behaved dough is set aside to rise

ready!

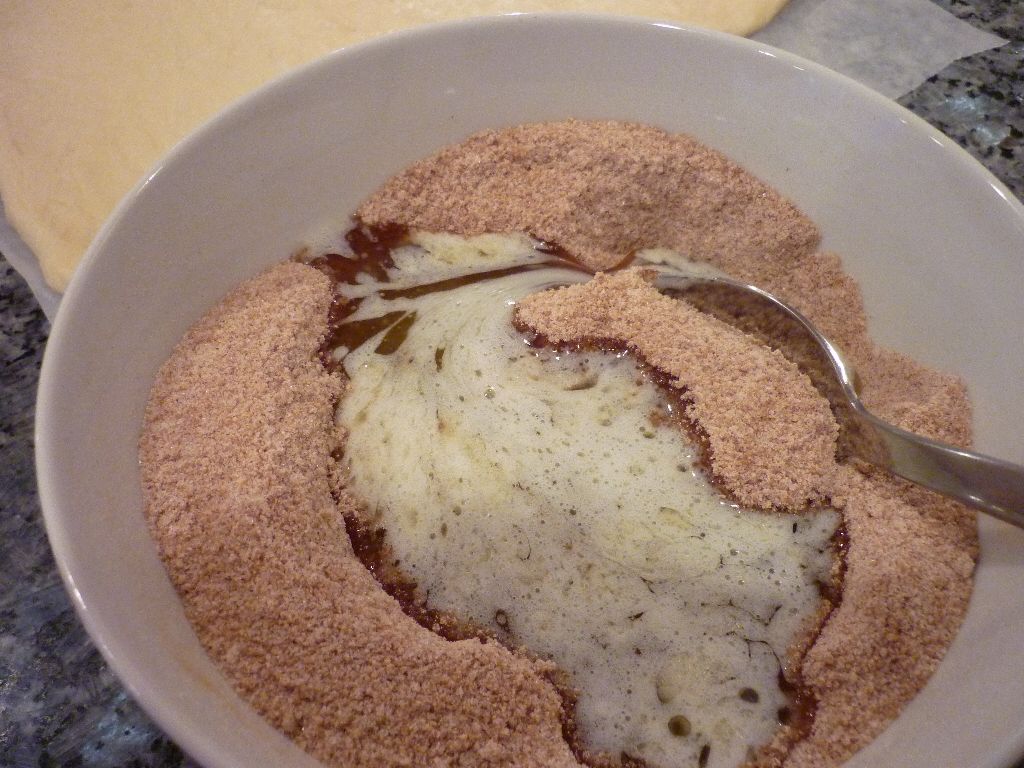
mise en place for the filling

I added some nutmeg as well as cinnamon

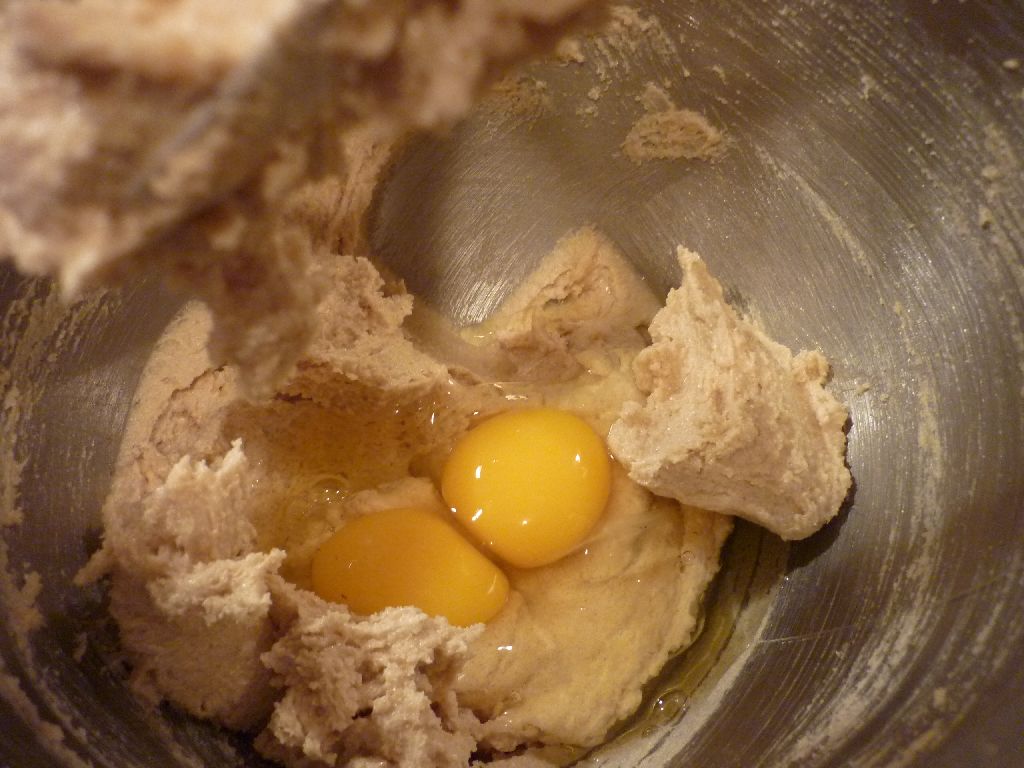
I like to mix the butter to the filling because it makes the mixture easier to spread and
it sticks to the dough better than a granulated topping when you start rolling

this dough was a breeze to roll out

my butter-sugar mixture is added

and spread over the dough

and then we roll...

almost there!

I like to use plain dental floss to slice my buns. It slices perfectly
without putting pressure on - and distorting - the dough

look how beautifully this dough slices!

I baked some in a plan dish, as the recipe instructed

and some with sugar, cinnamon and nuts in the bottom of the pan

after the second rise they are ready for the oven now

these were a bit over-done

smells delicious

my non-caramelized topping

they were best right out of the over while still warm


Bye for now...

Monday, January 2, 2012

Avid Baker's Challenge: Nut-Crusted Chocolate-Banana Swirl Cake

My Avid Baker's Challenge club is beginning a new book for 2012, The Weekend Baker by Abby Dodge. And (exciting!), the author herself is getting us started with our first recipe, Nut-Crusted Chocolate-Banana Swirl Cake on page 288.

The new book is really interesting because it details the recipes in stages so you can get started one day and finish everything a day or two later. I can see this coming in very handy around the holidays! It's not something I've done much of before, but I'm looking forward to experimenting with baking in stages.

The Nut-Crusted Chocolate-Banana Swirl Cake (half of which is sitting patiently on my counter-top, waiting for me to eat it) is delicious! The finished cake has a dense crumb but isn't heavy and the bananas keep the cake really moist. Plus, bananas equals healthy, right? Right! The banana flavor is really only obvious in the vanilla swirls of the cake while the chocolate swirls taste pretty much like pure chocolate so it's a nice combination of the two flavors. And even my husband - who doesn't like banana bread - declared this cake to be fantastic and has already polished of several slices.

The only bundt pan I have is this Nordic Ware Heritage bundt pan and I was a little concerned with trying to press my ground nuts into all the small crevices, so I chose instead to make 2 loaf cakes instead of 1 bundt cake. It was easy peasy to butter and nut the plain pans and I think the loaf shape - wrapped in some clear cellophane and a pretty ribbon - would be great for gifting. With the change in pan shape, I had to bake the cakes for an additional 15 minutes (until an inserted toothpick came out with a few crumbs).

The other change I made was to follow our ABC leader Hanaâ's suggestion of creaming the butter and sugar before adding the banana (I also squished up the banana first). I got a little nervous when adding the banana - as the batter seemed to separate - but all was well in the end. Overall I was very pleased with our first Weekend Baker cake and I can't wait for next month's Glazed Cinnamon Rolls! I'm curious to see how they'll compare to my Overnight Cinnamon Buns (which I loved) from last year's ABC book, Baking for All Occasions by Flo Braker.


mise en place

my two loaf pans, generously buttered and "nutted"

hmmm...getting nervous here as the batter separated
when the bananas were added

half the finished batter is separated and the melted chocolate is mixed in

spoonfuls of the vanilla/banana and chocolate batters are marbled together

the finished loaves...the whole house smelled delightful

I couldn't wait for it to cool...

moist, tender...and delicious!

Bye for now...