Showing posts with label puff pastry. Show all posts

Friday, July 18, 2014

Homemade puff pastry becomes...pithiviers

Hello blog! It's been so long since I've posted. I apologize to any readers who may have visited me this spring and summer. I've been so negligent and really do miss posting. It's just been difficult keeping up with full-time work, graduate school, trying to be healthier, have a happy marriage, and on and on.

But, it was my birthday last week and I had a dinner party for family and friends and cooked and baked up a storm. So I'll be posting those pictures soon. My garden is also blooming away and I took a trip to Iceland in the spring...so lots to catch up on! Even though I haven't been posting much lately, I do think of my lonely blog and any readers who may be visiting. Don't give up on me!

Getting to the point at hand for this post...pithiviers!

my freshly baked pithiviers

Have you heard of this dessert before? Me neither! However, during my puff-pastry making obsession over the winter, I was looking for something else fun to do with some of the puff pastry and I found this amazing pastry creation. It's puff pastry on the outside and delicious almond cream on the inside. So yummy.

The almond cream recipe is courtesy of Chef Delphin Gomes and comes from one of the baking classes I took many years ago at the Cambridge School of Culinary Arts. It's very simple!

You'll need 1 pound of puff pastry (see my recipe for puff pastry here), 1 recipe almond cream (below), and 1 lightly beaten egg for the egg wash.

Almond Cream
8 oz granulated sugar
8 oz unsalted butter, room temperature
4 large eggs
8 oz almond flour (see directions below)
2 oz all-purpose flour

To make the almond flour, put blanched almonds in a blender and pulse until crumbly and "flour-like." It's easier to do this in small batches. Make 8 oz worth and set aside.

mise en place for my delicious almond cream!

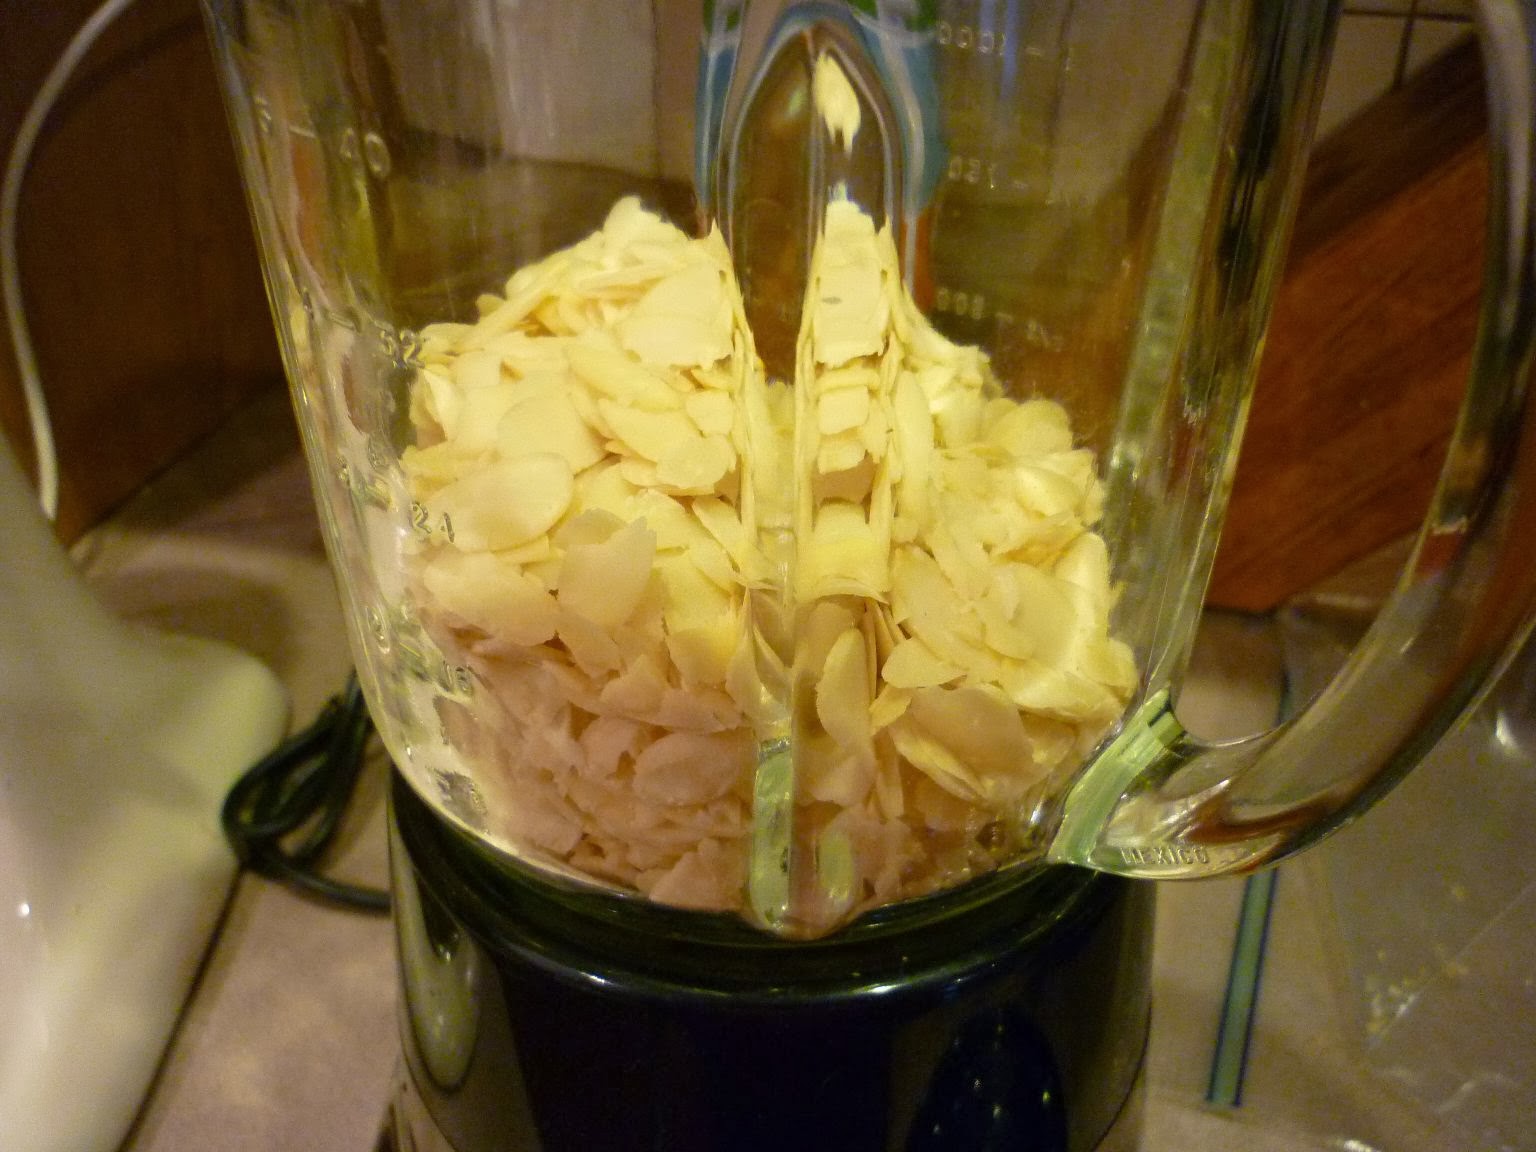
first...making the almond flour. Grind small amounts of almonds in a blender...

...until it looks like this - sandy, light and fluffy

To make the almond cream, cream the sugar and butter (beat in a stand mixer with the paddle attachment) until light and fluffy, about 3 minutes.

Add the eggs, one at a time, beating well after each.

Mix the almond flour and all-purpose flour together and then slowly add to the egg-sugar-butter mixture. And...that's it!

For the pithiviers filling, line an 8" tart ring with plastic wrap, and scrape the almond cream into the ring. If you don't have a tart ring, use a 8" pie plate or just draw a circle on parchment and use that as a guide. Then simply spread the almond cream to fill the 8" circle. Refrigerate for at least 1 hour.

making the pithiviers filling

use an offset spatula to smooth the top

chill and then remove the tart ring

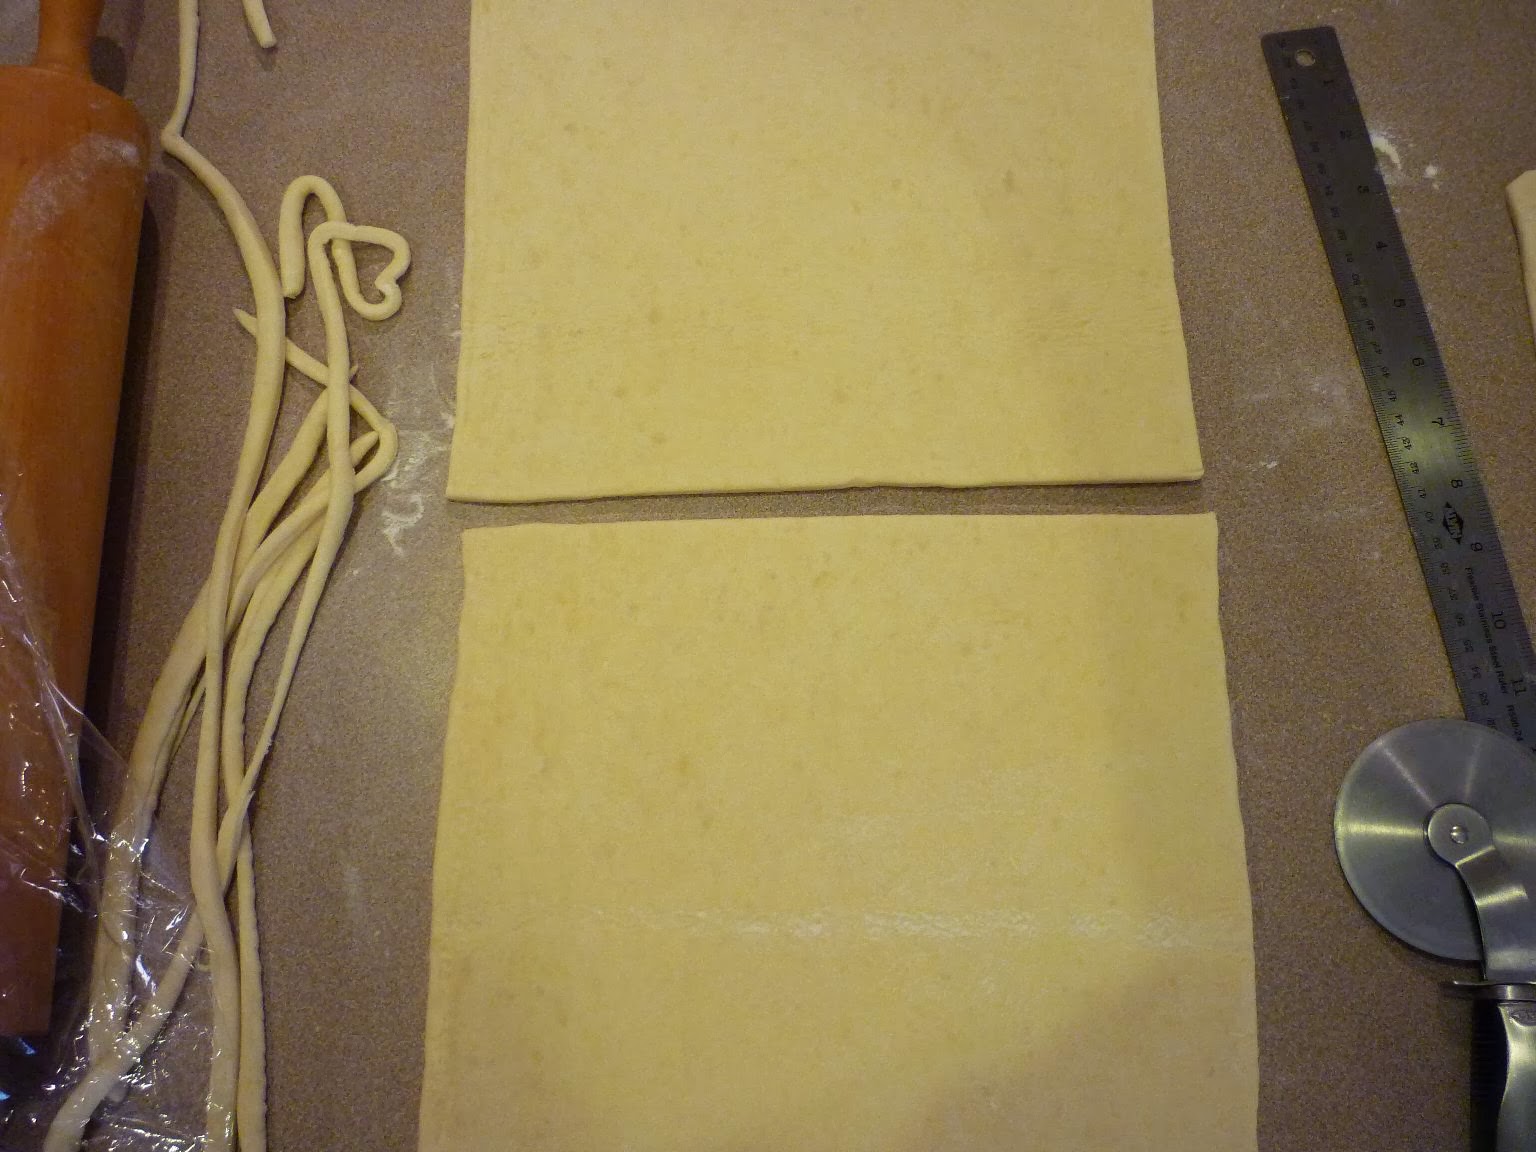
While the almond cream is chilling, roll out your puff pastry. You want two circles, one at least 1" larger than the other. I used a 9" tart ring to make the smaller circle and a bowl with a 10" mouth to make my larger circle. Chill your puff pastry circles for about 15 minutes.

tracing the 10" circle

the bottom circle of pastry, 9" around

and the top, 10" around

Now, we assemble. Using something solid for your base (I used a cooling rack covered in aluminum foil), place the smaller puff pastry circle down first. Next, peel back the plastic wrap from your chilled almond cream disk and place it in the middle of the 9" puff pastry.

my almond cream round goes in the middle of the puff pastry base

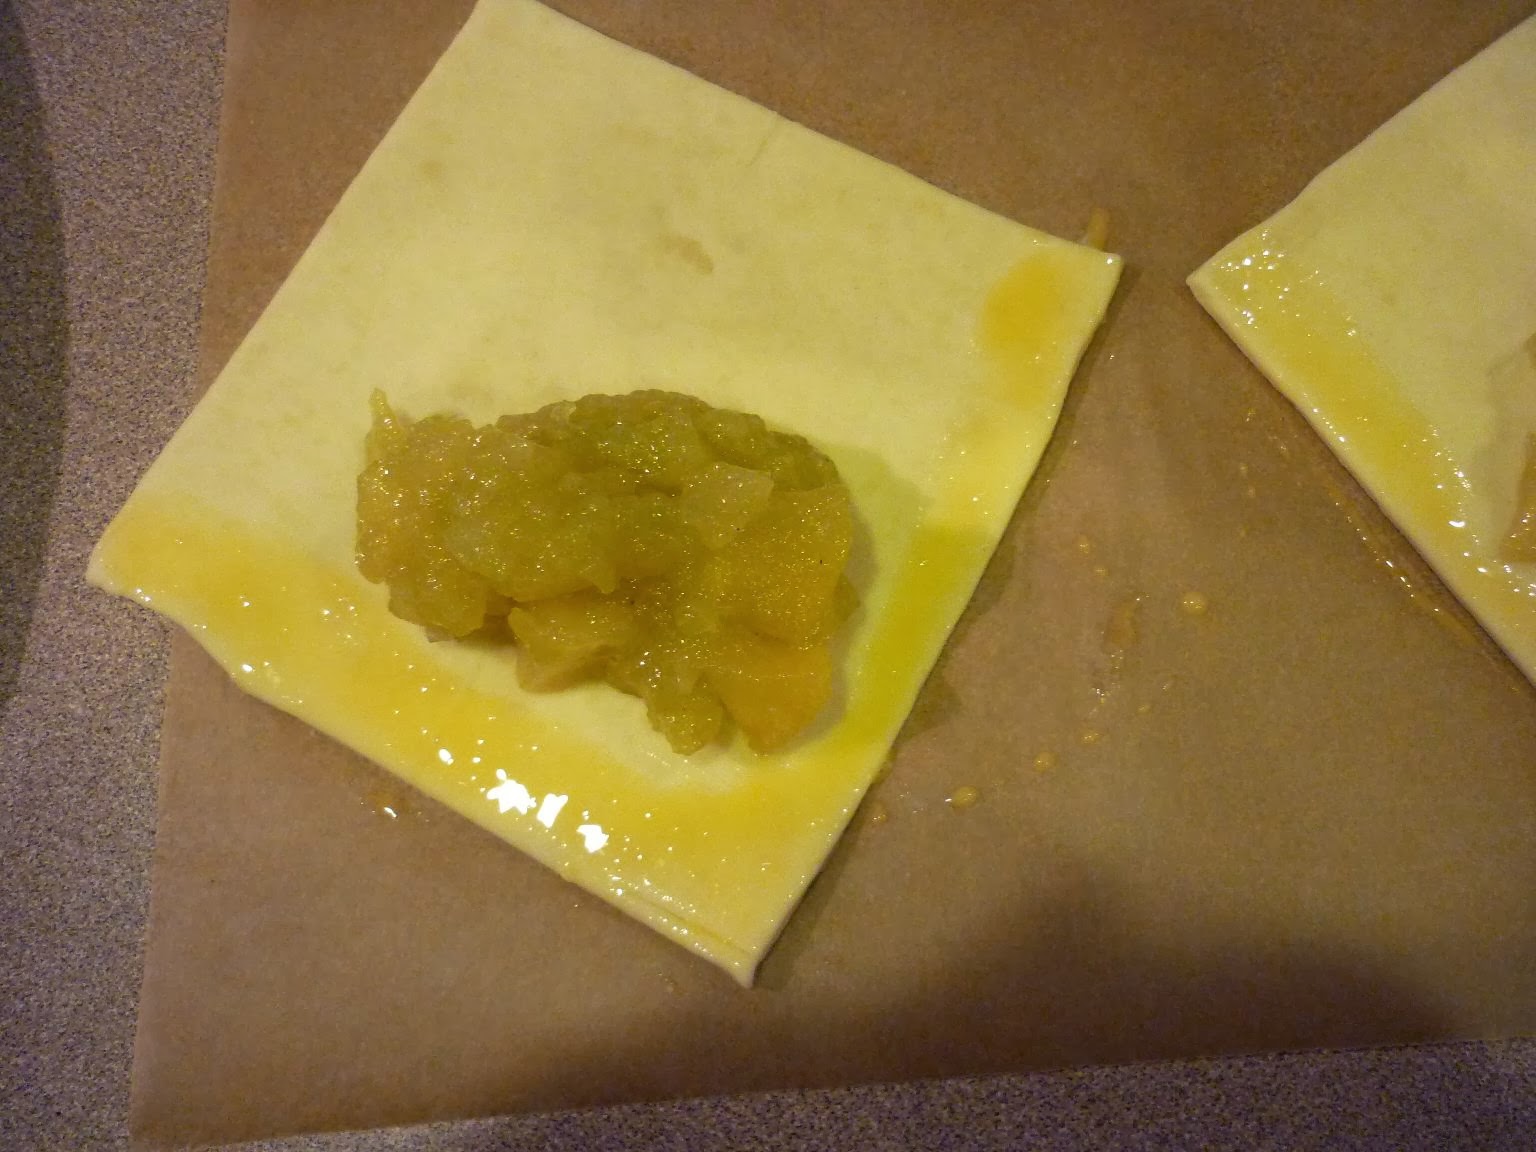
Next, place the larger round over the top and seal the edges with the egg wash. Brush the entire top with the egg wash. Be careful not to let the eggs drip over the cut edges of the pastry or the layers will not puff properly. Refrigerate for 30 minutes.

sealing the edges...don't let the egg drip over the sides

After chilling for at least 30 minutes, use a sharp knife to carve a design in the top dough. Mine is a bit messy, but not bad for my first try! Be sure to cut a hole in the middle to allow steam to escape.

Refrigerate for another hour or two (at least). You can also freeze the dough at this point, which is what I did. Before you bake the pithiviers, give it a final egg wash. Again, be careful not to let the egg drip over the edges.

a bit off-kilter, but here's my free-form design

Bake at 375 degrees for about 40 minutes, or until puffed up and golden brown. Let cool for about 10 minutes before slicing and serving. So beautiful! Next time you go to a dinner party, volunteer to make dessert. Bring this to the party - frozen - and bake it while you're eating dinner...your friends will be impressed! I served mine at a family holiday party and it got rave reviews!

my golden brown pithiviers

time for a slice...flaky pastry and light and delicious almond cream filling

With my leftover dough and almond cream (and some chocolate chips added!) I made 3 small, individual-sized pithiviers with different designs in the top dough.

cutting out and filling the dough for the small pithiviers

a flower pattern

the one on the bottom left is a bit wonky, but it baked up fine

voila!

look at all those layers...

all the chocolate chips sank to the bottom during baking

but it was still delicious! Chocolate and almonds are a perfect combination.


Bye for now...

Friday, January 3, 2014

Homemade puff pastry becomes...parmesan twists and palmiers

Using the scraps from my homemade puff pastry recipe I made some parmesan cheese twists and palmiers. I should really write it this way, "palmiers," because I just free-handed the shape as opposed to making them the traditional elephant ear shape. I basically just rolled them into circles and they ended up looking like shrimp because the "tail" separated a little during baking.

For the cheese twists, I simply grated some lovely Parmigiano-Reggiano cheese, brushed with egg and then pressed the cheese onto the dough, twisted, and put on the pan.

They were both delicious, buttery little snacks. Here are some photos:

a close up of my parmesan cheese twists

my little palmiers look like shrimp...but taste like sugar!

a little egg wash, some parmigiano-reggiano cheese and these are ready to bake

done! smells so good

check out all of the layers inside

just missing a glass of red wine

so yummy

baking up the curly palmiers

caramelized sugar...what could be better!

choices choices choices...which one to try first?


Bye for now...

Homemade puff pastry becomes...an apple tart

A beautiful, simple, and very easy apple tart. This is one of my all-time favorite desserts - especially for a family dinner, holiday, or dinner party - because it is so easy, but looks so fancy and beautiful! This time, I made my own homemade puff pastry, but you can also use store-bought (I think the Dufour brand is best).

gorgeous and delicious

look at those layers...beautiful!

The recipe is adapted from Martha Stewart's and you can use store-bought puff pastry or homemade. I've made homemade puff pastry a few times recently, once for Thanksgiving and once to make pithiviers. You can see the step-by-step directions for my puff pastry dough here if you want to make your own...try it, it's fun!

Ingredients

1 sheet homemade puff pastry (approx. 1 pound), or use frozen store-bought, thawed
all-purpose flour, for rolling out the dough
1 egg, lightly beaten, for egg wash
1/2 c. homemade or good-quality, unsweetened, applesauce
2-3 apples, peeled and cut into thin slices (use Granny Smith or other firm, tart apples)
juice from 1/2 lemon (or as much is needed to prevent the apples from browning
2 t. unsalted butter, melted
2 t. sanding or turbinado sugar
2 t. apricot preserves
1 tablespoon water

Method
Roll out your puff pastry sheet to approximately 14x16 inches. Trim 1 inch off from each side and carefully set aside. Put the large sheet of puff pastry on a parchment paper lined sheet pan.

Using the egg wash, carefully brush the outer 1" edge of the large pastry and place the 1 inch strips on the edge. Press gently with your fingers to seal and create an outer crust. You'll need to trim the strip you cut from the short ends so it fits back onto the larger piece of dough. Be careful with the egg wash so you don't let any drip over the cut edge of the dough. If the egg drips over the side, it will seal together all of your lovely puff pastry layers when you bake the tart.

Using the tines of a fork, prick the middle part of the pastry all over so it won't rise during baking. Put the puff pastry into the fridge to chill while you prepare the apples.

my lovely sheet of homemade puff pastry

The ingredients for the apple filling...so simple!

mise en place for the filling

Preheat the oven to 400 degrees while you prepare the apples.

Peel and core your apples. Cut the apples into thin slices and toss with a bit of lemon juice to they do not discolor.

slice, toss with lemon juice...and done!

Remove your puff pastry from the refrigerator and spread the applesauce over the inner (pricked) area. It should be chilled and very firm at this point, so you can do this quickly and not worry about being super gentle.

spreading the applesauce over the chilled dough

Layer the apple slices over the applesauce in whatever pattern you like. For expediency's sake, I just layer them like this, slightly overlapping.

Brush the apples in the middle with the melted butter.

Brush the outer 1" crust strip with the egg wash. Again, be careful not to let the egg wash drip over the side edges or it won't puff properly.

Sprinkle the sanding sugar over the entire tart - the apples and the crust.

brushing the apples with melted butter

brush the outer crust with the egg wash,
then sprinkle the sanding sugar over the entire tart

Bake the tart at 400 degrees for 20 minutes, until the edge crust starts to puff up. Reduce the temperature to 375, rotate the pan from front to back, and bake for an additional 25 or so minutes until the crust is golden brown.

During the last 10 minutes of baking, prepare the apricot glaze. Heat the apricot preserves and tablespoon of water in a small saucepan over low heat, stirring with a spoon or heat-proof spatula until they are completely combined and the mixture is hot. Remove from heat and set aside until the tart is done.

the baked tart

When the tart is done, gently remove to a cooling rack. You should be able to use the parchment paper to (gently!) lift the tart out of the sheet pan and onto the rack and then slide the parchment paper out from under.

Generously brush the apples with the apricot mixture.

Serve at room temperature with a small scoop of vanilla ice cream, whipped cream, or just enjoy plain.

so elegant...perfect for a party!


Bye for now...

Homemade puff pastry becomes...apple turnovers

I used half of my homemade puff pastry recipe to make these flaky, delicious apple turnovers. They were so pretty and professional-looking...but very easy. I definitely recommend trying these! You could also add raisins, nuts or use other fruit. The baked turnovers lasted about 3 days; next time I make them I'll freeze them when assembled (but unbaked) and then baked as needed, so we can enjoy them fresh out of the oven. They would be amazing with a small scoop of vanilla ice cream!

I used this bon appétit recipe (my slight adaptations are below) for Chaussons aux Pommes (French apple turnovers). Delicious!

so beautiful!
Ingredients
2 Granny Smith apples
2 other tart, firm apples, such as pink lady (or just use 4 Granny Smith apples)
1/4 c. water
3 t. sugar
3/4 t. fresh lemon juice
zest from one small lemon
1/8 t. freshly grated nutmeg
1/4 t. cinnamon
pinch of salt

1/2 recipe homemade puff pastry, approx. 15 ounces (or, use store-bought frozen puff pastry, thawed)
1 egg, lightly beaten
a few teaspoons of granulated sugar

the filling is so simple - apples, a bit of water, lemon, zest, sugar, salt, and spices

can I peel the apple in one go?

Method
Peel the apples and cut into small, uniformly-size pieces.

Add the apple pieces, water, sugar, lemon juice, lemon zest, salt, and spices to a medium saucepan. Stir to coat the apples. Bring the water to a boil and then lower the heat to medium-low, cover, and simmer for about 8-9 minutes. Give the apples a periodic stir so they cook evenly. You want the apple filling mixture to soften, but still have chunks of apples...we're not making applesauce!

Let the apple mixture cool completely (or it will melt the butter in your puff pastry and ruin the layers before you bake).

cooking down the apples

the finished apple filling
Here is my full recipe of homemade puff pastry; I used half for the apple turnovers and the other half for my Thanksgiving apple tart.

my full recipe of puff pastry; half is needed for this recipe

To make the tarts, roll out your puff pastry to a just larger than 15" square (you shouldn't need much, if any, flour when rolling). You want it slightly larger so you can trim off the edges and have a nice, sharp edge, which will allow the pastry layers to "puff" when it bakes. You can see how much I trimmed off in the above picture.

Using a ruler and sharp knife or pizza/pastry cutter, cut your 15" square into nine 5" squares; see below picture.

my nine 5" squares

Carefully stack the 9 squares between plastic wrap and chill for 30 minutes.

let the dough rest before filling and baking

After the dough has rested, you're ready to fill.

Lightly beat the egg with a fork and set aside. Put a heaping tablespoon of filling in the bottom center of the dough then brush the edge of the bottom half with your egg wash and gently fold the top half over. Using your fingers, gently press the two edges of the dough together. Don't press too hard or you will force the egg out and over the cut edge. You want to avoid getting egg on the cut edges of the dough or it will seal together all of your beautiful layers when you bake the turnovers.

At this point, the turnovers could be frozen - this is what I will do next time so they can be baked individually for breakfast or a snack.

adding the filling and sealing it inside

After all of the turnovers are filled, give each of them an egg wash and sprinkle with sugar. I used regular granulated sugar, but you could also use sanding sugar or turbinado sugar.

a quick brush of egg and sprinkle of sugar


Pop the filled, egg-washed turnovers into the fridge for another 20 minutes or so until they firm up a bit. This will chill the butter in the puff pastry and will help create better layers when you bake.

During this final chill, preheat the oven to 400 degrees.

The final step before baking is to cut some slits so the steam can escape during baking (otherwise they might pop open during baking).

ready to bake!

Bake on two parchment paper lined sheet pans at 400 degrees for 15 minutes. Lower the temperature to 350 degrees and bake for an additional 10 minutes or so, until golden brown. When you lower the temperature, also rotate the pans from front-to-back (if using two oven racks, also swap the pans from top to bottom).

gorgeous!

so pretty...and look at those puff pastry layers

Remove from the oven and, using a spatula, gently move to a cooling rack. Let cool for about 15 minutes; serve warm. They would be delicious with vanilla ice cream!

smells so good!

can't wait to dig in

flaky and delicious!

so good...I'll have to make these again soon...


Bye for now...