Friday, January 3, 2014

Homemade puff pastry becomes...apple turnovers

I used half of my homemade puff pastry recipe to make these flaky, delicious apple turnovers. They were so pretty and professional-looking...but very easy. I definitely recommend trying these! You could also add raisins, nuts or use other fruit. The baked turnovers lasted about 3 days; next time I make them I'll freeze them when assembled (but unbaked) and then baked as needed, so we can enjoy them fresh out of the oven. They would be amazing with a small scoop of vanilla ice cream!

I used this bon appétit recipe (my slight adaptations are below) for Chaussons aux Pommes (French apple turnovers). Delicious!

so beautiful!
Ingredients
2 Granny Smith apples
2 other tart, firm apples, such as pink lady (or just use 4 Granny Smith apples)
1/4 c. water
3 t. sugar
3/4 t. fresh lemon juice
zest from one small lemon
1/8 t. freshly grated nutmeg
1/4 t. cinnamon
pinch of salt

1/2 recipe homemade puff pastry, approx. 15 ounces (or, use store-bought frozen puff pastry, thawed)
1 egg, lightly beaten
a few teaspoons of granulated sugar

the filling is so simple - apples, a bit of water, lemon, zest, sugar, salt, and spices

can I peel the apple in one go?

Method
Peel the apples and cut into small, uniformly-size pieces.

Add the apple pieces, water, sugar, lemon juice, lemon zest, salt, and spices to a medium saucepan. Stir to coat the apples. Bring the water to a boil and then lower the heat to medium-low, cover, and simmer for about 8-9 minutes. Give the apples a periodic stir so they cook evenly. You want the apple filling mixture to soften, but still have chunks of apples...we're not making applesauce!

Let the apple mixture cool completely (or it will melt the butter in your puff pastry and ruin the layers before you bake).

cooking down the apples

the finished apple filling
Here is my full recipe of homemade puff pastry; I used half for the apple turnovers and the other half for my Thanksgiving apple tart.

my full recipe of puff pastry; half is needed for this recipe

To make the tarts, roll out your puff pastry to a just larger than 15" square (you shouldn't need much, if any, flour when rolling). You want it slightly larger so you can trim off the edges and have a nice, sharp edge, which will allow the pastry layers to "puff" when it bakes. You can see how much I trimmed off in the above picture.

Using a ruler and sharp knife or pizza/pastry cutter, cut your 15" square into nine 5" squares; see below picture.

my nine 5" squares

Carefully stack the 9 squares between plastic wrap and chill for 30 minutes.

let the dough rest before filling and baking

After the dough has rested, you're ready to fill.

Lightly beat the egg with a fork and set aside. Put a heaping tablespoon of filling in the bottom center of the dough then brush the edge of the bottom half with your egg wash and gently fold the top half over. Using your fingers, gently press the two edges of the dough together. Don't press too hard or you will force the egg out and over the cut edge. You want to avoid getting egg on the cut edges of the dough or it will seal together all of your beautiful layers when you bake the turnovers.

At this point, the turnovers could be frozen - this is what I will do next time so they can be baked individually for breakfast or a snack.
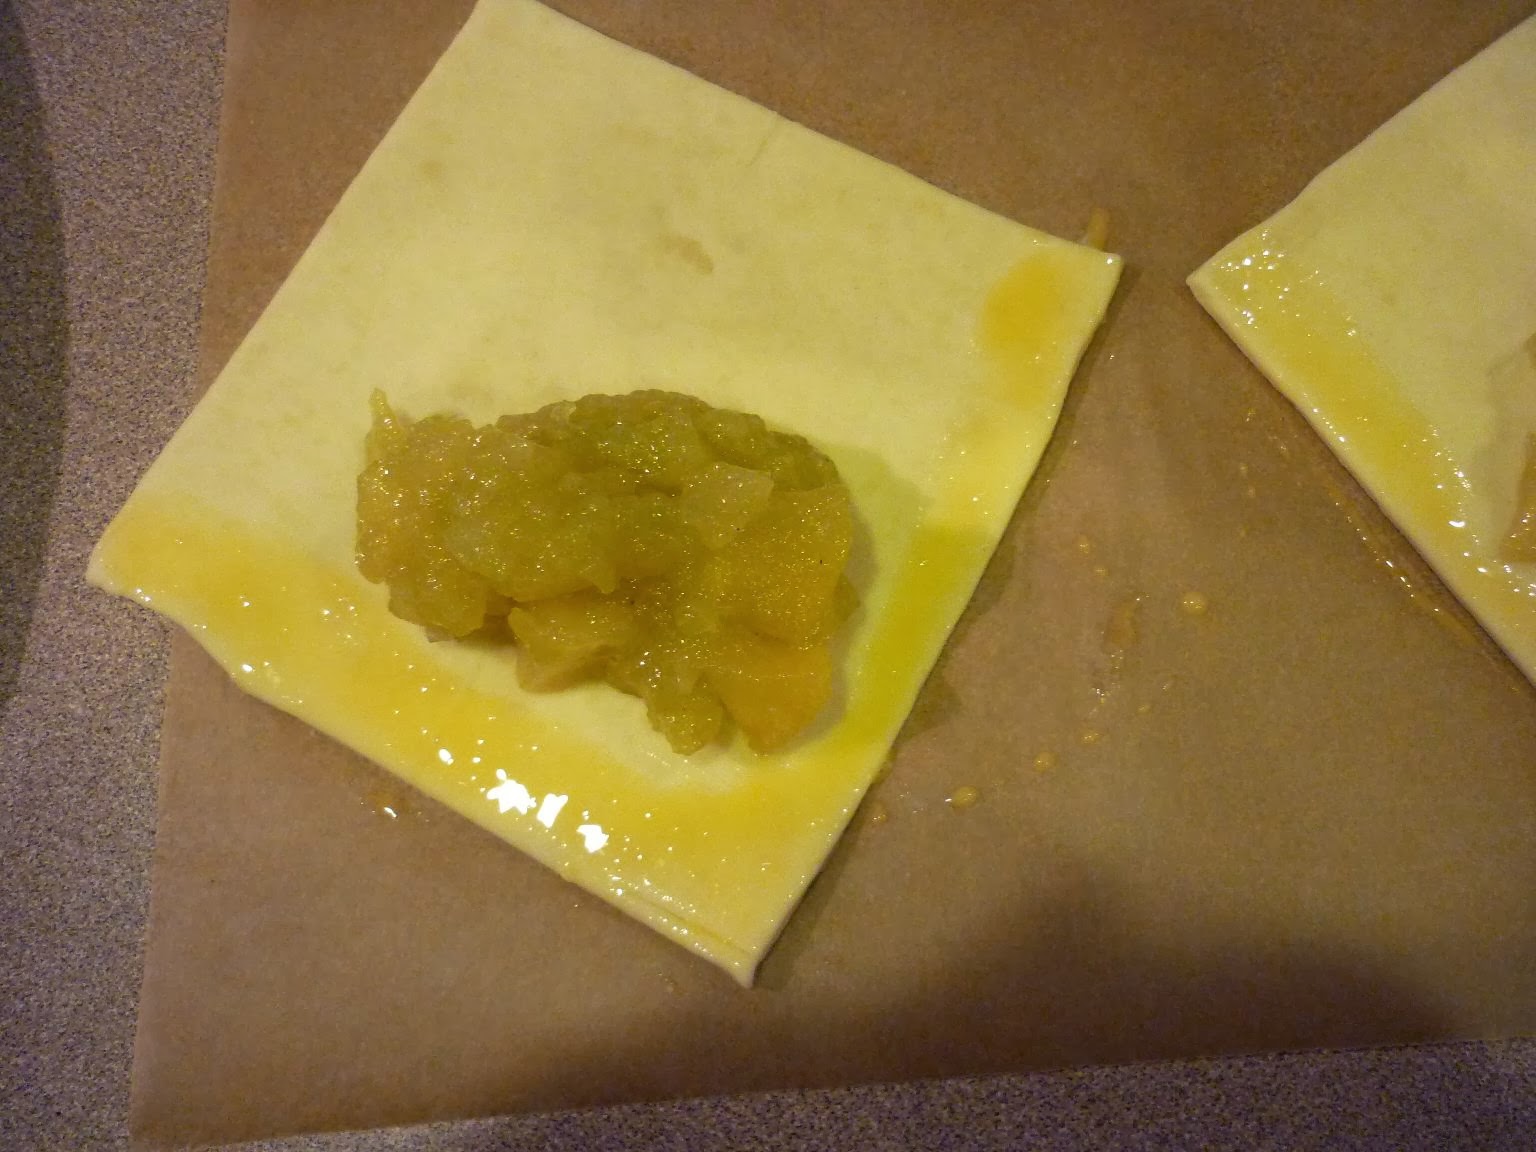
adding the filling and sealing it inside

After all of the turnovers are filled, give each of them an egg wash and sprinkle with sugar. I used regular granulated sugar, but you could also use sanding sugar or turbinado sugar.

a quick brush of egg and sprinkle of sugar


Pop the filled, egg-washed turnovers into the fridge for another 20 minutes or so until they firm up a bit. This will chill the butter in the puff pastry and will help create better layers when you bake.

During this final chill, preheat the oven to 400 degrees.

The final step before baking is to cut some slits so the steam can escape during baking (otherwise they might pop open during baking).

ready to bake!

Bake on two parchment paper lined sheet pans at 400 degrees for 15 minutes. Lower the temperature to 350 degrees and bake for an additional 10 minutes or so, until golden brown. When you lower the temperature, also rotate the pans from front-to-back (if using two oven racks, also swap the pans from top to bottom).

gorgeous!

so pretty...and look at those puff pastry layers

Remove from the oven and, using a spatula, gently move to a cooling rack. Let cool for about 15 minutes; serve warm. They would be delicious with vanilla ice cream!

smells so good!

can't wait to dig in

flaky and delicious!

so good...I'll have to make these again soon...


Bye for now...

How to make homemade puff pastry from scratch: a step-by-step

For Thanksgiving this year, I made one of my favorite desserts, an apple tart. As a twist though, I decided to make my own puff pastry. I've made my own croissants before (see this post for a step-by-step), and puff pastry is only 2 additional turns, so I knew I could do it!

I've realized that I really like making laminated doughs (layers of alternating butter and dough). Once you get the hang of it, they are not too difficult. You just need to be patient, precise, and work in a cool kitchen. If you have hot and humid summers, like me, don't even bother to make them when it's hot...this is definitely a winter project.

I used the puff pastry to make:
- apple turnovers
- an apple tart
- parmesan cheese twists
- pithiviers (an amazing French dessert of puff pastry filled with almond cream...yum!)

Look at how beautiful this dough is:

my finished dough

For the puff pastry, I used Julia Child's recipe from Baking with Julia, one of my favorite cookbooks, but I changed up the method a bit by adding some butter to the flour mixture. This was the method I learned in one of my baking classes at the Cambridge School of Culinary Arts - add some butter to the flour mixture and mix the dough by hand on the countertop rather than in the mixer (as instructed in Julia Child's book).

Ingredients for puff pastry, courtesy of Julia Child:
2 1/2 c. unbleached all-purpose flour
1 1/4 c. cake flour
1 1/2 t. salt (note JC's recipe calls for 1 T. salt but I felt this was too much)
1 1/4 c. ice water
1 lb. (4 sticks) cold unsalted butter, divide and set aside 4 t. for the flour mixture, the rest goes into making the butter square.

Method:
Step 1, make the dough Sift together the flour and salt onto the countertop. Make a "well" in the center and add 4 t. of butter, cut into small pieces.

adding the butter

Using a bench scrapper - or your fingertips - cut the butter into the flour until it resembles cornmeal. If you use your fingers, work quickly so the heat of your fingers doesn't melt the butter. A good method for using your fingers is to gather flour in them as you bring them to the butter so you are incorporating fingers full of flour (into the butter) as you rub and smoosh the butter.

incorporating the butter with a bench scraper or your fingers

Add the water a few tablespoons at a time until the dough comes together. You should need all of the water, but stop as soon as it comes together.

adding the water, fluffing and combining as you go

When the dough has come together, gently gather it and press it into a 4" square. Dust lightly with flour and loosely wrap it in plastic wrap. Let it rest for 30 minutes (or longer) in the refrigerator.

formed into a square and ready for resting

Step 2, make the butter square You should have 3 1/2 sticks of cold butter remaining. Cut into pieces and place in the bowl of a stand mixer. Using the paddle attachment, beat the butter until it is completely smooth.

paddling the butter

Scrape your softened butter into plastic wrap. Using the plastic wrap to protect your hands, shape the butter into a 4" square. This is where you want to start being careful with measurements, so try to be pretty precise here. If the butter square is too soft, chill it until it has firmed up. You want the dough and butter square to be the same firmness so they will roll out easily together. If the butter is too soft, it will ooze out of the dough and ruin your layers.

scraping out the butter

my butter square, ready to be chilled

Let the butter chill for a while. Basically, you want the butter square and the dough to be the same firmness, so they will roll out together, smoothly and without tearing the dough.

getting ready to roll out the first two turns

Step 3, creating "le petit paquet" or incorporating the butter into the dough Roll out your dough to an approximate 10" square. You can make the four corners slightly thinner (since they will be coming together and overlapping in the middle) and leave the middle slightly thicker.

my 10" square of dough

Place the butter square in the middle, at a diagonal, as below.

the butter square goes on top

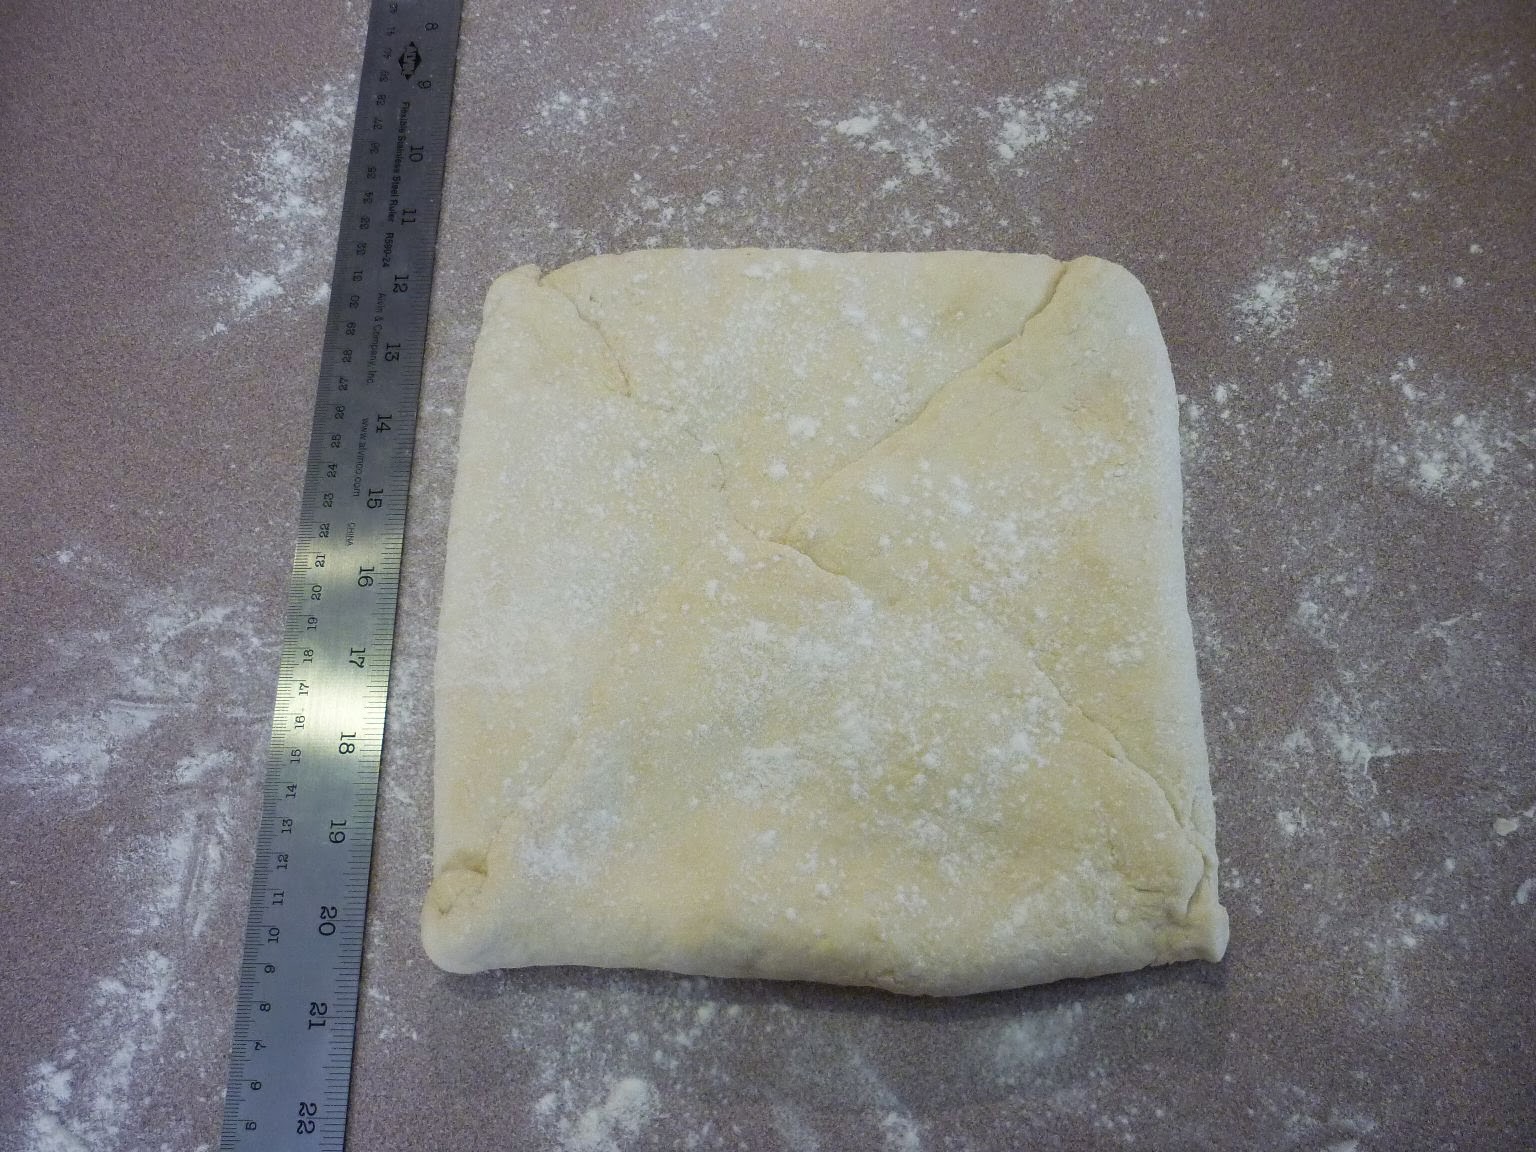
Then fold the four corners of the dough so they meet in the middle, pinching the edges of dough together so you seal the butter completely inside. After this step, I use the heel of my hand to gently push/flatten the packet a bit. I am trying to make sure the butter reaches the edges and is evenly dispersed inside (but don't push too hard as you don't want to the butter to leak out at all).

my sealed petit paquet

Step 4, the turns Now comes the fun part...rolling out the turns. You will roll the dough twice, then chill it (first two turns); then roll it out twice again (turns 3 and 4), then chill it; then roll it out twice more (turns 5 and 6), then it is ready to shape and use.

Lightly flour your surface and gently roll out the dough to a 12x24" rectangle. Flour sparingly, but use enough so the dough does not stick to either the countertop or the rolling pin. You will find you need less and less flour as you go, but you do not want the dough to stick or the butter will break through. If the dough tears and exposes the butter, pat some flour onto the butter spot and keep rolling.

I've flattened the packet out slightly to make sure the butter is
evenly dispersed inside

During the rolling, it is important to try to be precise and to try to keep the dough as rectangular as possible. I have a 24" ruler that I use for baking and it's perfect for rolling out the dough. I just set it on the countertop and keep rolling until my dough is as long as the ruler.

phew...done

24" exactly!

Now you are ready to make the first turn. Fold the dough into thirds, as you would a letter.

fold the top down and then the bottom up

voila, the first turn

Now, rotate the dough so the opening is on your right and the folded side is on your left, as below.

turned and ready to roll out again

Roll out the dough again, as you did before, to 12x24" and then fold into thirds again. This is your second turn completed. Now the dough needs a rest.

the second roll...24" check!

fold again into thirds

Wrap the dough losely, but completely in plastic wrap (you don't want any air to get in which will dry out the dough), set it on a cookie sheet pan and let it rest in the refrigerator for a minimum of 30 minutes.

ready to rest in the fridge

After the first rest, you will need 4 more turns. Repeat the above process (two turns), then rest the dough again for a minimum of 30 minutes.

After a total of 6 turns, your dough should be smooth, soft, and absolutely gorgeous. Look how pretty it is!

my finished dough

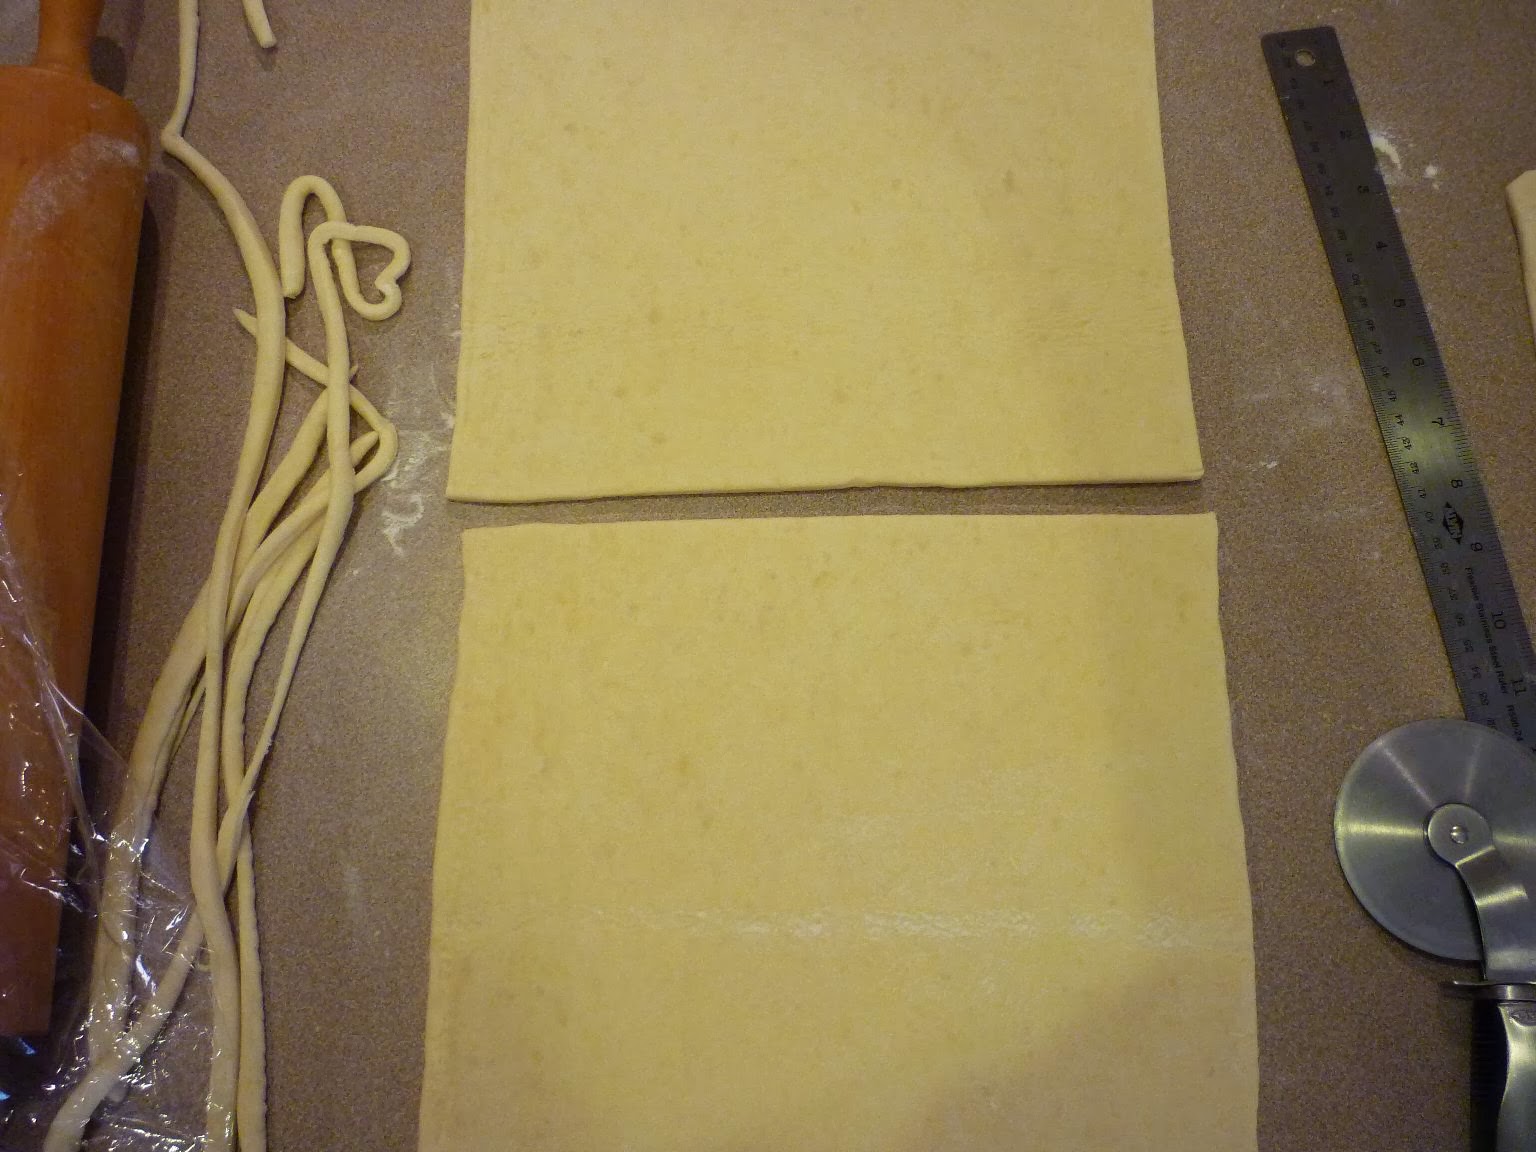
Now you are ready to roll out the dough and use it for delicious baking projects. The picture below is the dough measured out for my apple turnovers, which used 1/2 the dough. I used the other half of the dough to make an apple tart for Thanksgiving. The scraps are good for making cheese twists and/or palmiers.

For another batch of puff pastry I made a delicious dessert called pithiviers...so yummy! I made a second batch just a couple of weeks later, for Christmas...I have been a baking maniac the last two months.

measuring dough for apple turnovers and an apple tart


Bye for now...

Wednesday, January 1, 2014

Parker House rolls

I have been in the mood for some fresh, soft bread rolls lately, so I made these super buttery Parker House rolls earlier this week.

light and delicious rolls

The rolls originated in the Parker House hotel right here in Boston (wicked awesome)! The original Parker House rolls recipe calls for using round cutters, but I adapted my recipe from Bon Appétit's and followed their method, where you roll out the dough and cut it into a rectangle shape. It was a bit tedious to roll, cut, butter, and fold 36 rolls, so I would probably use a different shape if I were to make these again.

Overall, the dough was very easy to work with and the rolls themselves were light, soft, and buttery. I definitely recommend trying these rolls (but skip the time-consuming rolling and folding). I would recommend instead to either skip the inside buttered layer or to perhaps roll out the whole dough, cut it into thirds lengthwise, butter that, fold it and then cut that up. I think that would go much faster. Here is my recipe, adapted from the Bon Appétit recipe.

Ingredients
2 1/4 t. active dry yeast
1/4 c. warm water (110-115 degrees), to proof the yeast
1 c. whole milk
1/4 c. unsalted butter, cut into pieces
3 t. sugar (add a pinch to the proofing yeast)
1 1/2 t. sea salt
1 egg, at room temperature
3 1/2 c. all-purpose flour, plus more for rolling out the dough
another approx. 1/4 c. unsalted butter, melted, for brushing the dough and baked rolls

Using the melted butter, butter two 9x9" pans, or you can use a 9x13" pan; set aside.

See below for the method.

mise en place - easy, simple ingredients

Proof the yeast in a small bowl by combining the yeast, warm water and a pinch of sugar (to feed the yeast). Set aside for 5 minutes.

foaming yeast...smells yummy

Heat the milk, butter, sugar, and sea salt (whisking to blend) until warm and the butter is almost melted; pour into a large bowl. Add the yeast mixture and egg; whisk to blend.

combining the wet ingredients

Add the flour all in one go. Mix quickly with a large spoon until the dough starts to come together.

adding and mixing in the flour

Turn the dough out onto a floured surface and knead for about 5-6 minutes. It will be very sticky at first, but keep kneading until it is smooth and elastic.

From this:

very sticky to start

To this:

soft and smooth to end

Oil a large bowl and transfer the dough to the bowl, turning the dough over so it is lightly coated with oil. Cover with plastic wrap then a large kitchen towel and set in a warm place to rise until it has doubled in size (about 90 minutes or so, depending on the temperature of your kitchen).

the oiled ball of dough is ready for the first rise

risen and doubled in size! So pretty

Gently deflate the dough by punching it down; turn it out onto a lightly floured surface and divide into four equal pieces.

the deflated dough is ready to be rolled out

Roll out each piece of the dough into a rectangle about 12x6" then cut into 12 equal sized pieces. You should end up with 12 pieces, each approximately 4x2"

the 12 squares that will become the rolls

Butter one half of each small rectangle of dough and then fold the unbuttered half over so the "tail" of the unbuttered dough hangs slightly over the buttered half; see the next two photos.

butter half the dough

then fold the unbuttered half over

Layer the folded-over rolls in the baking pan so they are staggered and slightly overlapping, and with the unbuttered "tail" underneath the roll that is on top. It is hard to describe, so see the next two photos.

Repeat this process (rolling out, cutting, buttering, folding, layering) with the remaining 3 pieces of dough. This is the part I felt took too long. Next time I'll shape them differently so this is faster.

one pan of the buttered and folded-over rolls

the rolls sit slightly on top of each other, on the "tail" end

The rolls don't look like much at this point - so flat and lifeless - but after they rise again they will look much more like real rolls. Cover the pans of rolls with a kitchen towel and set them aside for the second rise (about 45 minutes). Toward the end of the second rise, preheat the oven to 350.

After the second rise, gently brush the rolls with melted butter. Bake at 350 for 20-25 minutes until they are golden brown.

after the second rise, gently brush with melted butter

Immediately after taking the rolls out of the oven, brush again with melted butter and sprinkle with large flake sea salt. Serve warm.

beautiful golden brown rolls

a side view...you can see how they puffed up as they expanded during
the second rise and baking

light and tender - and buttery! - inside

Bye for now...
Happy New Year


Best wishes to all for a happy and healthy 2014!

toasting in the new year...
can't believe it's 2014!

Bye for now...

Saturday, December 28, 2013

Bananas Foster

If you like bananas and rum and caramelized sugar, you will LOVE this! Here is my version of Bananas Foster...enjoy! The plated presentation was a little messy, but boy, was it delicious and - alert - will send you on a sugar high. Next time I will add some pecans during the sugar-melting/caramelizing part to offset so much of the sweetness and also to add some contrasting texture.

a messy presentation, but oh, so yummy!


Ingredients
3 T. unsalted butter
1/3 c. brown sugar
1/2 t. apple pie spice (or scant 1/2 t. cinnamon, pinch ginger, pinch freshly grated nutmeg)
1 T. orange liquor (Cointreau or similar)
3 bananas, sliced lengthwise, then sliced in half
1/4 c. rum
vanilla ice cream (or pancakes, waffles, or crepes)

Method
In a large pan, melt the butter, brown sugar, and apple pie spice over low heat until the sugar completely dissolves and begins to caramelize.

Carefully add the banana slices; spoon the sauce over the bananas. Cook on each side for 1-2 minutes, until softened, continue spooning the sauce over the bananas as they cook.

When the bananas are softened, remove pan from heat and add the rum. Return to heat and tilt the pan (or use a long match) to ignite the rum; cook for another 1-2 minutes until the liquor flame is extinguished. Or, if you are nervous about setting the pan on fire, just cook for 1-2 minutes after adding the rum without igniting the alcohol.

Gently spoon the bananas and some delicious sauce over ice cream (or pancakes, etc.); serve immediately.

ingredients for the Bananas Foster

the bananas go into the pan and sauce is spooned over

then the bananas are flipped, cooked a bit more and the rum is added

serve over ice cream

so delicious!


Bye for now...